
Looking for an apple crisp recipe that’ll make your kitchen smell like heaven? You’ve landed in the right spot. We’ve been making this one for years, and honestly, it never gets old. The smell of cinnamon and baked apples wafting through the house? That’s fall in dessert form. What makes this easy apple crisp recipe simple is that you don’t need fancy equipment or complicated techniques. Just good apples (we love mixing tart Granny Smiths with sweet Pink Ladies), a buttery oat topping, and about an hour of your time. Some folks skip the oats entirely, but trust me, the texture they add is worth it. This easy apple crisp recipe with oats gives you that perfect contrast between tender apples and crunchy topping. People keep telling us this is the best apple crisp recipe ever, and while we’re not ones to brag, we can’t really argue with them. Want a healthy apple crisp recipe? You can swap in coconut oil and coconut sugar without losing any of that cozy flavor. And yes, this simple apple crisp recipe works great whether you’re feeding a crowd or meal prepping for the week. Though if you’re curious about an apple crisp recipe without oats, you can absolutely leave them out and double up on the flour. Your kitchen, your rules.
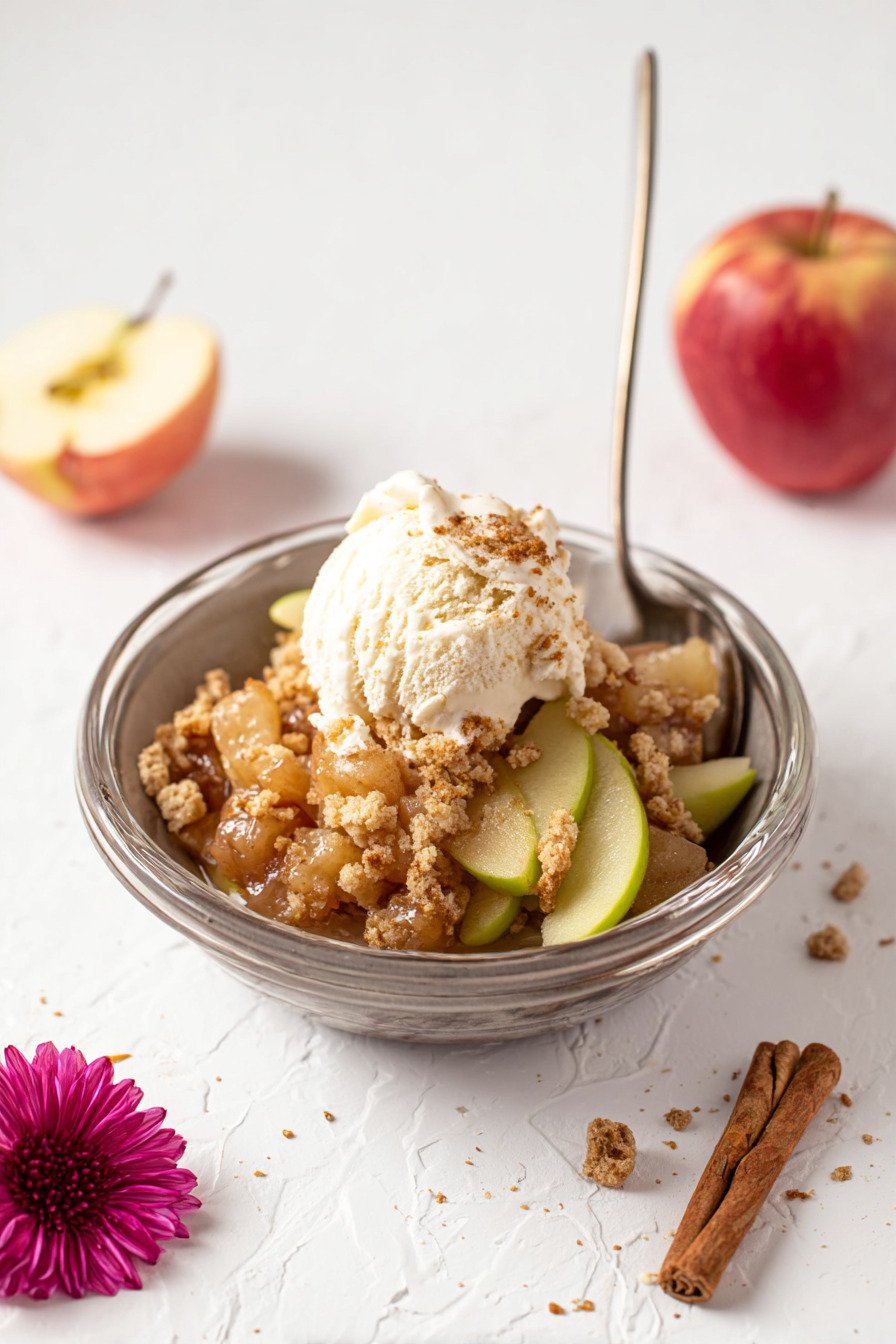
Table of Contents
- 1) Key Takeaways
- 2) Easy Apple Crisp Recipe
- 3) Ingredients for Apple Crisp
- 4) How to Make Apple Crisp
- 5) Tips for Making Apple Crisp
- 6) Making Apple Crisp Ahead of Time
- 7) Storing Leftover Apple Crisp
- 8) Try these Desserts next!
- 9) Apple Crisp
- 10) Nutrition
1) Key Takeaways
- What’s the secret to perfectly tender apples in crisp?
- Can you make apple crisp without a traditional topping?
- How do you keep the topping from getting soggy?
- What are the best apple varieties for baking desserts?

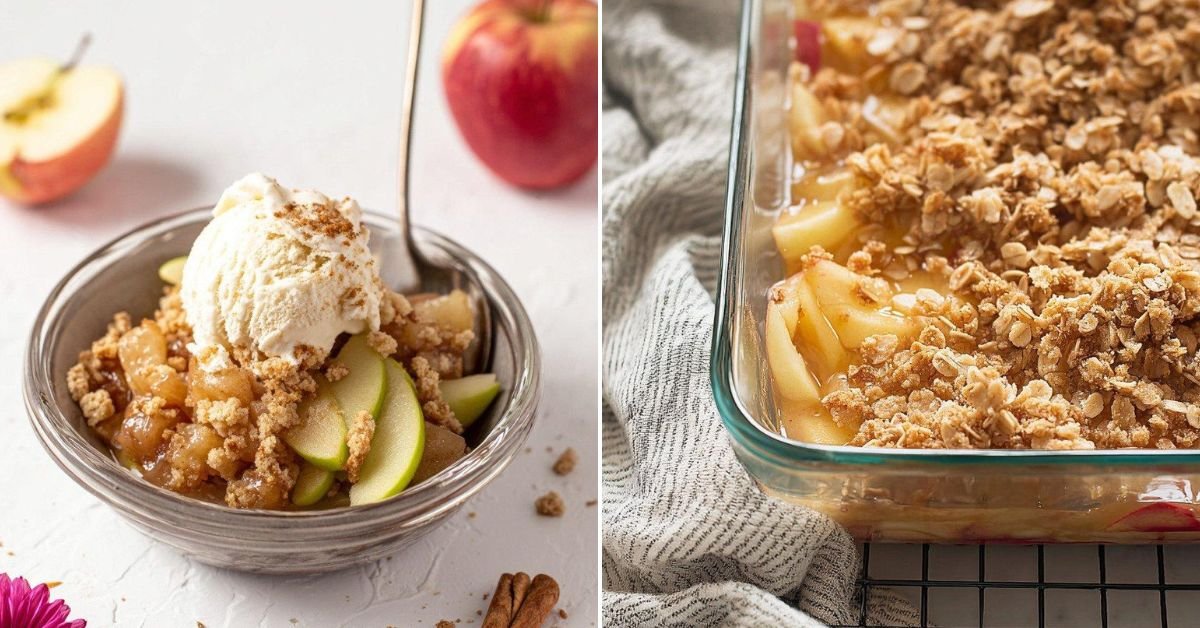
2) Easy Apple Crisp Recipe
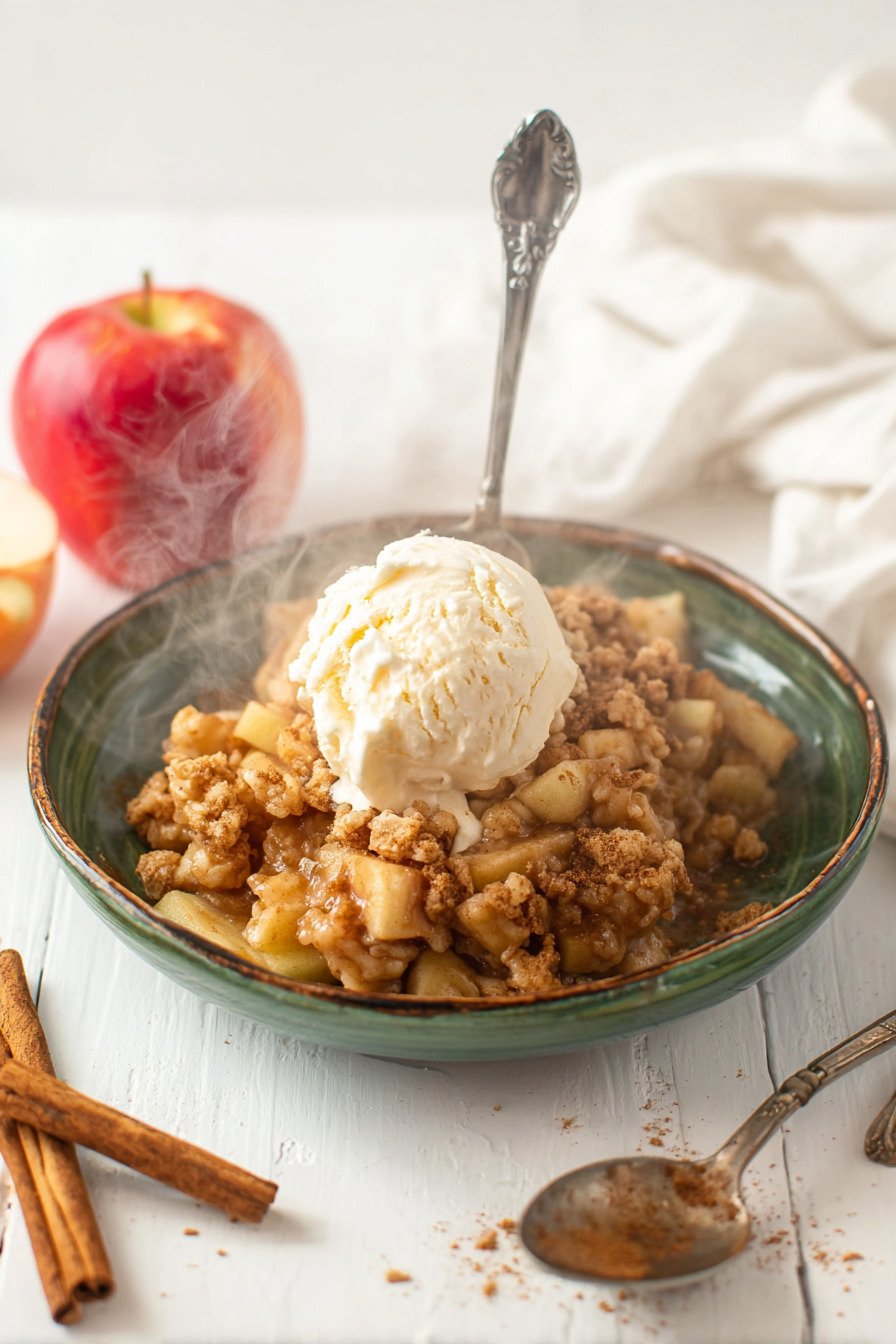
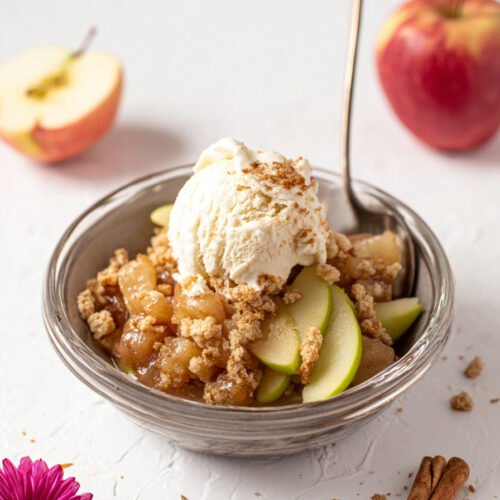
Listen, I’ve been making this apple crisp recipe for years, and it still surprises me how something so straightforward can taste this good. We’re talking tender chunks of apple swimming in their own sweet juices, topped with a golden, buttery crumble that’s got just the right amount of crunch. Every single time I pull this out of the oven, someone asks for the recipe. Every. Single. Time.
What makes this apple crisp recipe work so well is the balance. You’ve got tart Granny Smith apples playing off the sweeter Pink Ladies, creating this flavor that’s neither too sweet nor too tart. The oats in the topping add texture that store bought versions just can’t match. And the smell? When this bakes, your whole house smells like you’ve been cooking all day, even though you’ve barely lifted a finger.
I love that this easy apple crisp recipe simple enough that my kids can help make it. We’ll peel apples together on a Sunday afternoon, and an hour later we’re digging in with vanilla ice cream melting all over the top. It’s one of those recipes that feels fancy enough for company but easy enough for a random Tuesday night when you need something sweet.
The thing about making desserts at home is that you control what goes in. Want to make a healthy apple crisp recipe? Swap the butter for coconut oil and use coconut sugar instead of white sugar. Need it gluten free? That works too. This recipe bends to fit whatever you need, which is probably why it’s stuck around in our rotation for so long.
3) Ingredients for Apple Crisp
Apples are obviously the star here, and picking the right ones matters more than you’d think. We use a mix of Granny Smith and Pink Lady apples because the tart and sweet balance each other perfectly. Granny Smiths hold their shape when baked and won’t turn to mush, which is what you want. Pink Ladies add that sweetness without being cloying. You could use Honeycrisp or Braeburn too, but stay away from Red Delicious because they get mealy when cooked. You’ll need about 3 pounds, which sounds like a lot but trust me, they cook down.
Granulated sugar sweetens the apple filling just enough without overpowering the natural apple flavor. We’re only using half a cup here, which is pretty restrained compared to most dessert recipes. The apples themselves bring plenty of sweetness, so we don’t need to go overboard. If you’re making a simple apple crisp recipe that’s lower in sugar, you could cut this back to a third of a cup and it’d still taste great.
Fresh lemon juice does double duty in this recipe. First, it keeps the apples from browning while you’re prepping them, which means your finished dish looks better. Second, it brightens up all the flavors and keeps the sweetness from feeling heavy. Just one tablespoon makes a real difference. Don’t skip this or substitute bottled lemon juice. Fresh is worth it.
Cornstarch thickens up all those apple juices that release during baking. Without it, you’d end up with a soupy mess at the bottom of your pan. One tablespoon is all you need to create that nice, syrupy consistency that coats the apples without being gluey. Some folks use flour instead, but cornstarch gives you a clearer, prettier sauce.
Ground cinnamon brings that warm, cozy flavor we all associate with fall baking. We use it in both the filling and the topping, so you get cinnamon in every bite. If you’re feeling adventurous, you could use chai spice or apple pie spice instead. But plain cinnamon works beautifully and most people already have it in their pantry.
Unsalted butter creates that rich, crumbly topping that makes this the best apple crisp recipe ever. We melt it and mix it with the dry ingredients to create these little clusters of buttery goodness. Using unsalted lets you control the salt level yourself. If you need a dairy free or vegan version, coconut oil works just as well. The topping will be slightly different in texture but still delicious.
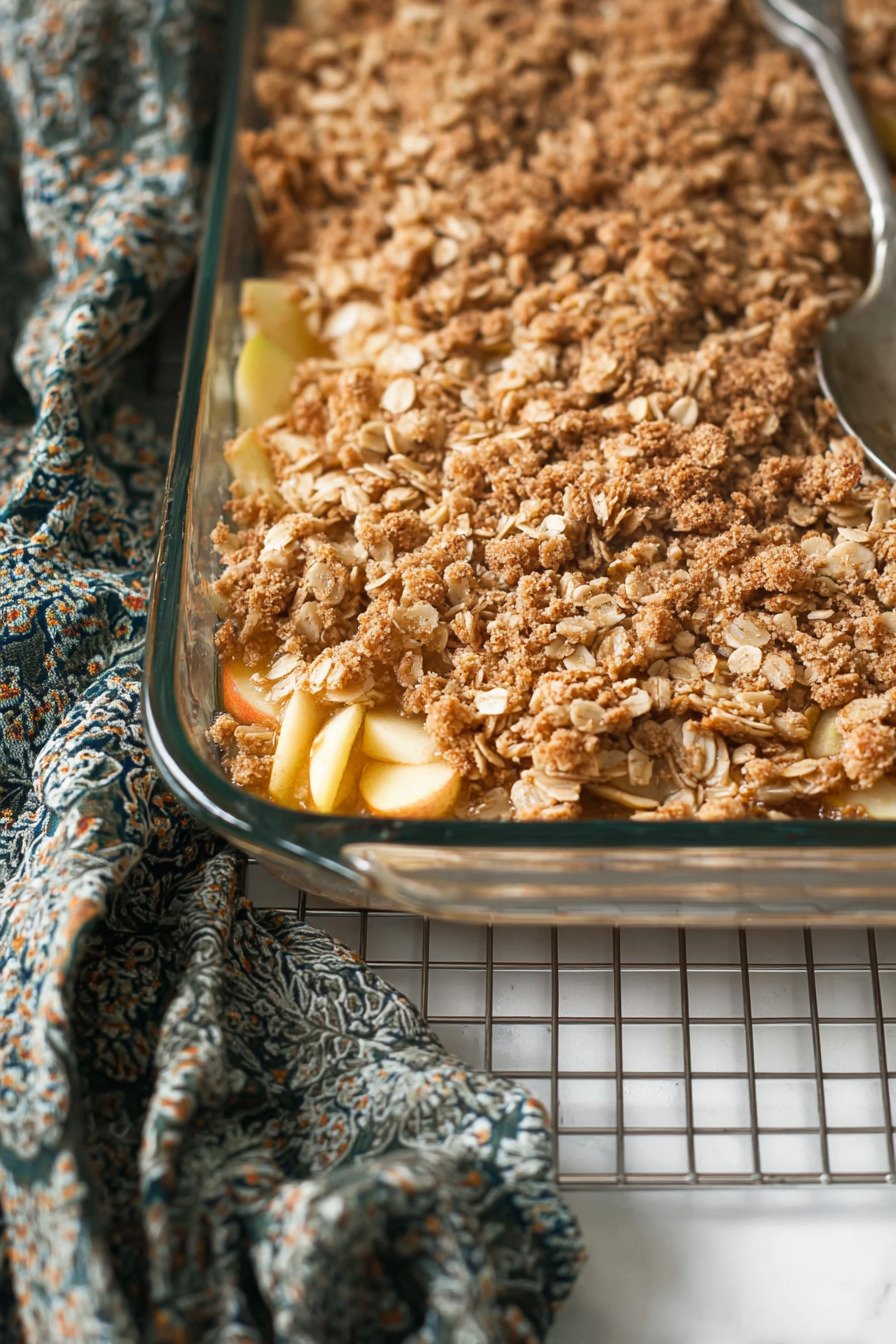
Rolled oats are what give this easy apple crisp recipe with oats its signature texture. They toast up beautifully in the oven and add this hearty, wholesome quality to the topping. Use old fashioned rolled oats, not quick oats or steel cut. Quick oats get too mushy, and steel cut won’t soften enough. If you absolutely need an apple crisp recipe without oats, you can double the flour instead, but you’ll lose some of that great texture.
All purpose flour helps bind the topping together and creates structure. Combined with the oats and sugar, it forms those perfect crispy clusters on top. For a gluten free version, use a 1 to 1 gluten free flour blend. We’ve tested it with almond flour too, and that works if you’re going grain free. The texture changes slightly, but it’s still really good.
Brown sugar adds molasses notes and extra moisture to the topping. Packed brown sugar is what you want here. The moisture in brown sugar helps create those clumps in the topping that everyone fights over. You could use coconut sugar if you’re trying to avoid refined sugar, and the flavor would be quite similar.
Salt might seem like a tiny detail, but that quarter teaspoon in the topping balances all the sweetness and makes the other flavors pop. Baking without salt results in desserts that taste flat and one dimensional. Don’t leave it out.
4) How to Make Apple Crisp
Step 1. Get your oven preheating to 350 degrees. Grab a 9×13 inch baking dish and give it a good spray with cooking spray. This prevents sticking and makes cleanup way easier later. If you don’t have cooking spray, you can butter the dish instead. Just make sure you get the corners well.
Step 2. Time to deal with the apples. Peel them with a regular vegetable peeler, working your way around each apple. Some people leave the peels on, but I find peeled apples have a better texture in the finished dish. Stand each apple upright on your cutting board and slice down the sides, cutting around the core. You’ll end up with four or five pieces per apple.
Step 3. Take those apple pieces and chop them into 1 inch chunks. They don’t need to be perfect, just roughly the same size so they cook evenly. Chunks that are too small will turn to mush, and chunks that are too big won’t get tender enough. One inch is the sweet spot we’ve found after making this dozens of times.
Step 4. Toss all your chopped apples into a large bowl. Add the granulated sugar, lemon juice, cornstarch, and 2 teaspoons of the cinnamon. Use your hands or a big spoon to mix everything together until every apple piece is coated. The mixture will look a bit dry at first, but the apples will release juice as they bake.
Step 5. Pour your apple mixture into the prepared baking dish and spread it out into an even layer. You want a relatively flat surface so the topping distributes evenly. If the apples are piled up in spots, those areas won’t cook as well as the flatter sections.
Step 6. For the topping, melt your butter in a medium bowl. Microwave works great for this, takes about 40 to 60 seconds. You want it fully melted but not hot. If it’s too hot, it’ll start cooking the oats and flour, which isn’t what we want.
Step 7. Add the oats, flour, brown sugar, remaining teaspoon of cinnamon, and salt to the melted butter. Stir everything together until you’ve got a crumbly mixture that looks like wet sand. You should be able to squeeze some in your hand and have it clump together. If it seems too dry, add a tiny bit more melted butter.
Step 8. Sprinkle this topping evenly over your apples. Don’t pack it down. Just let it sit on top in a nice, loose layer. You want some texture and variation in the topping, not a smooth, dense layer. Some people like to use their hands to create little clumps as they sprinkle, which creates extra crispy bits.
Step 9. Slide the dish into your preheated oven and bake for 50 to 60 minutes. You’re looking for a golden brown topping and you should see the filling bubbling up around the edges. If the top starts getting too dark before the apples are tender, loosely cover the dish with foil. Different ovens vary, so start checking around the 45 minute mark.
Step 10. Pull it out and let it cool on a wire rack for at least 15 minutes before serving. I know waiting is torture when it smells this good, but hot filling will burn your mouth and the flavors actually taste better after a short rest. Serve it warm with vanilla ice cream or whipped cream on top.
5) Tips for Making Apple Crisp
Choosing your apples makes or breaks this dish. You want baking apples that hold their shape under heat. Granny Smith apples are the gold standard for baking because they stay firm and bring tartness that balances the sugar. Pink Ladies work beautifully too, adding sweetness without getting mushy. Honeycrisp and Braeburn are solid choices if that’s what you have. What you want to avoid are apples that turn mealy or mushy when cooked. Red Delicious, McIntosh, and other soft apples will basically dissolve into applesauce, which isn’t what we’re going for here.
Don’t rush the prep work on your apples. Taking time to cut them into uniform 1 inch pieces means everything cooks at the same rate. If some pieces are tiny and others are huge, you’ll end up with some that are mushy and others that are still crunchy. That’s not ideal. I usually set up an assembly line: peel all the apples first, then core them, then chop them. It goes faster than doing one apple start to finish, then moving to the next.
The topping needs to be crumbly, not wet or pasty. If your butter is too hot when you add the dry ingredients, it can make the mixture too wet. Let the melted butter cool for a minute before mixing. You’re aiming for a texture that’s like wet sand or cookie crumbs. When you squeeze a handful, it should hold together, but it should still be loose enough to sprinkle. If it’s too wet and paste like, add a tablespoon or two more of oats or flour. If it’s too dry and won’t hold together at all, add a tiny bit more melted butter.
Watch your baking time closely. Ovens vary a ton, so the 50 to 60 minute range is a guideline, not a rule. Start checking at 45 minutes. You want the topping golden brown and the filling bubbling around the edges. If you pull it out too early, the apples will be crunchy and the filling will be watery. If you bake it too long, the topping burns and the apples turn to mush. The sweet spot is when you see consistent bubbling all around the edges and the topping is deeply golden.
Let it rest before serving. This is the hardest part when your kitchen smells amazing and everyone’s hovering around the oven. But giving it 15 to 20 minutes to cool lets the filling thicken up properly. Right out of the oven, the filling is super liquidy and will run all over your plate. After resting, it thickens into that perfect syrupy consistency that coats your spoon. Plus, you won’t burn your mouth on molten apple filling, which is always a bonus.
6) Making Apple Crisp Ahead of Time
This might be the best make ahead dessert I know. You can prep the whole thing in advance and just pop it in the oven when you need it. I do this all the time for holiday meals when I’m juggling multiple dishes. The morning of Thanksgiving, I’ll assemble the crisp completely, cover it with plastic wrap, and stick it in the fridge. Then while we’re eating dinner, I slide it into the oven. By the time we’re ready for dessert, it’s hot and bubbly and the house smells incredible.
If you’re assembling it ahead, bring it to room temperature before baking. Take it out of the fridge 30 to 45 minutes before you plan to bake it. Cold filling straight from the fridge needs longer in the oven and can result in a burnt topping before the apples are done. Letting it warm up a bit means more even cooking. The topping might look a little wet after sitting in the fridge, but that’s normal. It’ll crisp up beautifully in the oven.
You can prep the components separately too if that works better for your timeline. Mix up your apple filling and store it in the fridge in an airtight container. Make the topping and keep it in a separate container in the fridge. Both will keep for a day or two. When you’re ready to bake, just assemble and go. This method is great if you’re not sure exactly when you’ll want to bake it.
For longer storage, you can freeze the assembled crisp before baking. Use a freezer safe dish, cover it tightly with plastic wrap and then foil, and freeze for up to three months. When you want to bake it, let it thaw in the fridge overnight, bring to room temperature, and bake as directed. You might need to add 5 or 10 extra minutes to the baking time. I’ve done this for busy weeks when I knew I’d want a homemade dessert but wouldn’t have time to make one.
7) Storing Leftover Apple Crisp
Leftover apple crisp keeps really well, which is great news if you’re making it for just a couple people. Once it’s cooled completely, cover the baking dish with plastic wrap or foil and you can leave it on the counter for up to two days. The topping will soften a bit at room temperature, but the flavor is still excellent. We usually eat ours at room temperature straight from the fridge the next day, and honestly, it’s still really good.
For longer storage, keep it in the fridge. Transfer it to an airtight container or just cover the baking dish tightly with plastic wrap. It’ll last four to five days refrigerated. The topping definitely gets softer in the fridge, losing that crispy texture. If that bothers you, you can crisp it back up. Scoop out a serving, put it in an oven safe dish, and warm it in a 350 degree oven for 10 to 15 minutes. The topping will firm back up and taste freshly baked.
Reheating individual portions in the microwave works fine if you’re not worried about the crispy topping. Put a serving in a microwave safe bowl and heat for 30 to 60 seconds until warm. It won’t be crispy, but it’ll be hot and delicious. I actually like it this way sometimes, especially for breakfast with yogurt on top. Yes, I eat apple crisp for breakfast. Don’t judge me.
You can freeze baked apple crisp too. Let it cool completely, then cover tightly with plastic wrap and foil. It’ll keep for up to three months frozen. Thaw it in the fridge overnight before reheating. The texture won’t be quite as good as fresh, and the topping will definitely be softer, but it’s still a decent dessert when you need something quick. I’ve pulled frozen apple crisp out on a random weeknight when we needed dessert, and everyone was perfectly happy with it.
8) Try these Desserts next!
9) Apple Crisp
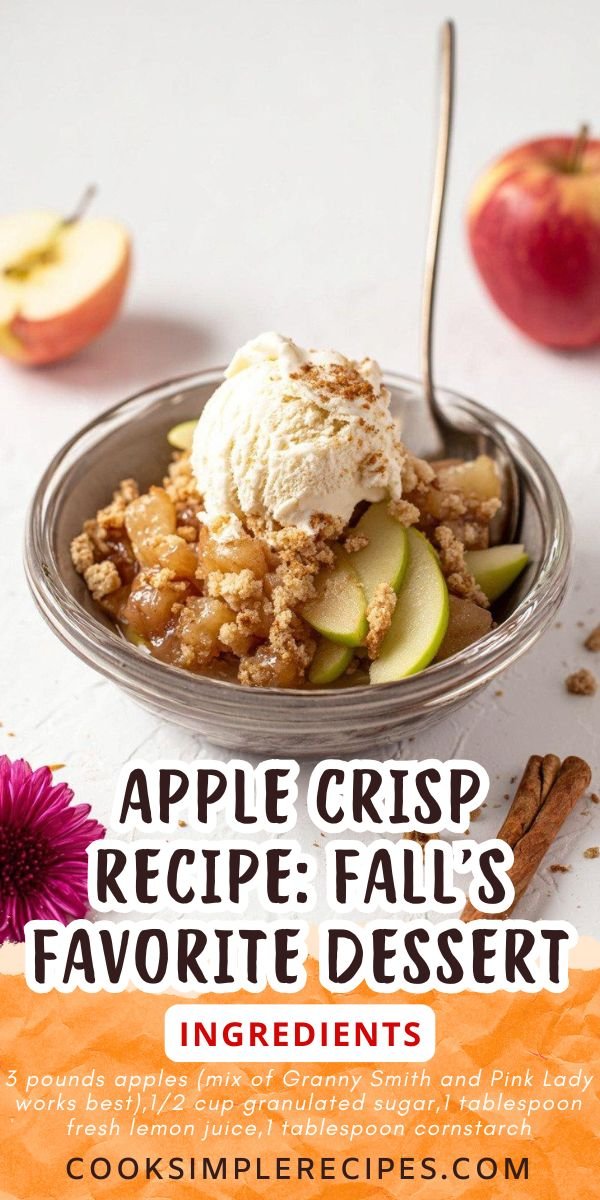
Apple Crisp Recipe: Fall’s Favorite Dessert
Ingredients
For the Apple Filling
- 3 pounds apples (mix of Granny Smith and Pink Lady works best)
- 1/2 cup granulated sugar
- 1 tablespoon fresh lemon juice
- 1 tablespoon cornstarch
- 2 teaspoons ground cinnamon
For the Crisp Topping
- 1/2 cup unsalted butter, melted (or coconut oil for vegan option)
- 1 cup rolled oats
- 1 cup all purpose flour (or gluten free 1 to 1 flour)
- 1/3 cup brown sugar, packed
- 1 teaspoon ground cinnamon
- 1/4 teaspoon salt
Instructions
Prep the Apples
- Preheat your oven to 350°F and spray a 9×13 inch baking dish with cooking spray.
- Peel the apples using a vegetable peeler, then stand each apple upright and slice off the sides around the core.
- Chop the apple pieces into 1 inch chunks.
Make the Filling
- Toss the chopped apples with granulated sugar, lemon juice, cornstarch, and 2 teaspoons cinnamon in a large bowl until everything’s well coated.
- Spread the apple mixture evenly in your prepared baking dish.
Create the Topping
- Melt the butter in a medium bowl (microwave works great, about 40 to 60 seconds).
- Stir in the oats, flour, brown sugar, remaining 1 teaspoon cinnamon, and salt until you’ve got a crumbly mixture.
- Sprinkle this topping evenly over the apples.
Bake
- Bake for 50 to 60 minutes until the topping is golden brown and you can see the filling bubbling around the edges.
- If the top starts browning too quickly, loosely cover it with foil.
- Let it cool on a wire rack for at least 15 minutes before serving. We know waiting is hard, but it’s worth it!
10) Nutrition
Serving Size: 1/8 of crisp, Calories: 375, Sugar: 39 g, Sodium: 80 mg, Fat: 13 g, Saturated Fat: 7 g, Carbohydrates: 65 g, Fiber: 6 g, Protein: 4 g, Cholesterol: 31 mg
Leave a Comment