
These no bake protein balls changed my life. I’m not kidding. One random Tuesday evening, I was starving, the kitchen was a mess, and I refused to turn on the oven. I grabbed some oats, peanut butter, protein powder, and honey, mixed everything in a bowl, rolled them into balls, and boom. Done in 15 minutes. What shocked me wasn’t just how easy they were. It was how good they tasted. Like actual treats, not sad health food. My kids devoured them. My husband started hiding them in his gym bag. They became my go-to for everything from no bake protein cookies cravings to that 3 PM slump when I need high protein snacks fast. Friends started asking for the best protein balls recipe, and I happily shared it because honestly, everyone deserves a snack this good. You can make these high protein recipes work for breakfast, post-workout fuel, or late-night munchies. They’re flexible like that. Swap the nut butter, change up the mix-ins, or make them vegan. I’ve tested dozens of variations, from high protein pancakes energy to high protein dinner prep snacks, and this base recipe wins every time. Let’s get rolling.
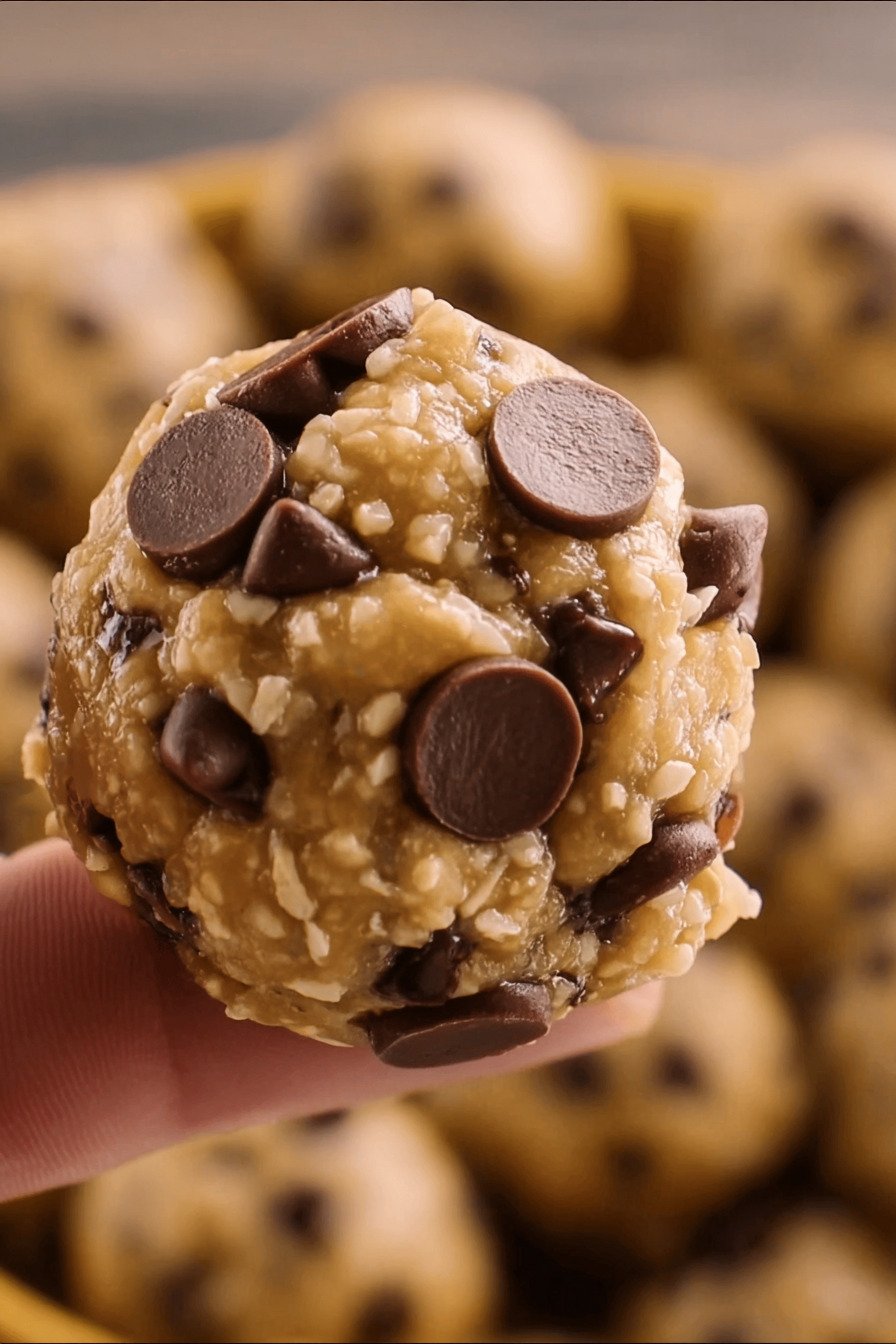
Table of Contents
- 1) Key Takeaways
- 2) Easy No Bake Protein Balls Recipe
- 3) Ingredients for No Bake Protein Balls
- 4) How to Make No Bake Protein Balls
- 5) Tips for Making No Bake Protein Balls
- 6) Making No Bake Protein Balls Ahead of Time
- 7) Storing Leftover No Bake Protein Balls
- 8) Try these snacks next!
- 9) No Bake Protein Balls
- 10) Nutrition
1) Key Takeaways
- What makes these the best protein balls recipe for meal prep?
- Can you substitute different nut butters in high protein snacks?
- How long do no bake protein cookies stay fresh in the fridge?
- What protein powder works best for high protein recipes?
2) Easy No Bake Protein Balls Recipe
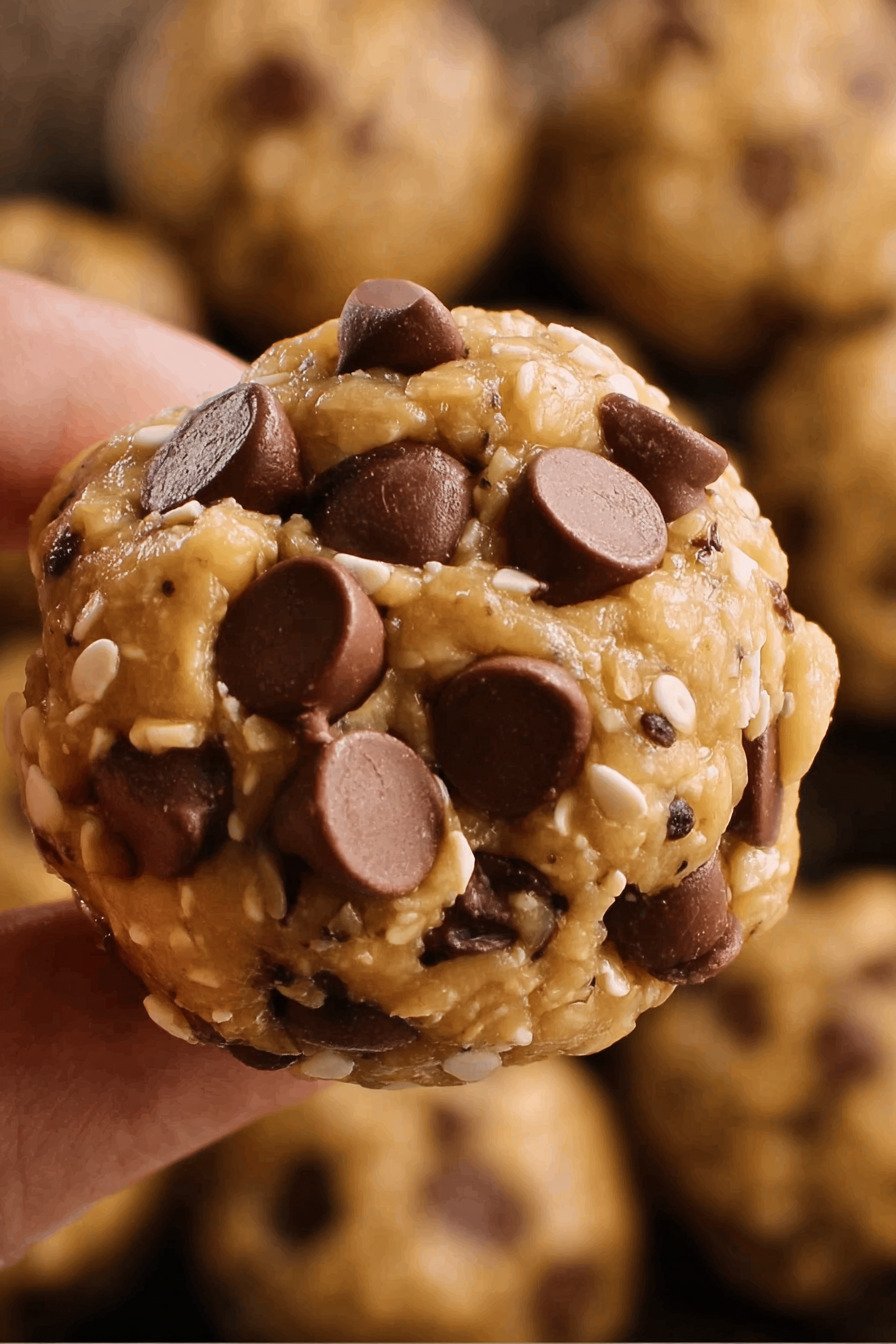
I’m obsessed with these high protein snacks. Like, genuinely can’t stop making them. They’ve become my answer to every snack emergency. Hungry at 3 PM? Grab a protein ball. Need fuel before the gym? Protein ball. Kids begging for something sweet? You guessed it. These little spheres of goodness pack everything I want in high protein snacks without any of the weird aftertaste you sometimes get from store-bought options.
What makes them work so well is how simple they are. You literally mix everything in one bowl, roll them into balls, and chill. No oven. No fancy equipment. No stress. The whole process takes about 15 minutes from start to finish, and most of that time is just rolling the mixture into balls while listening to a podcast or chatting with whoever’s hanging around the kitchen.
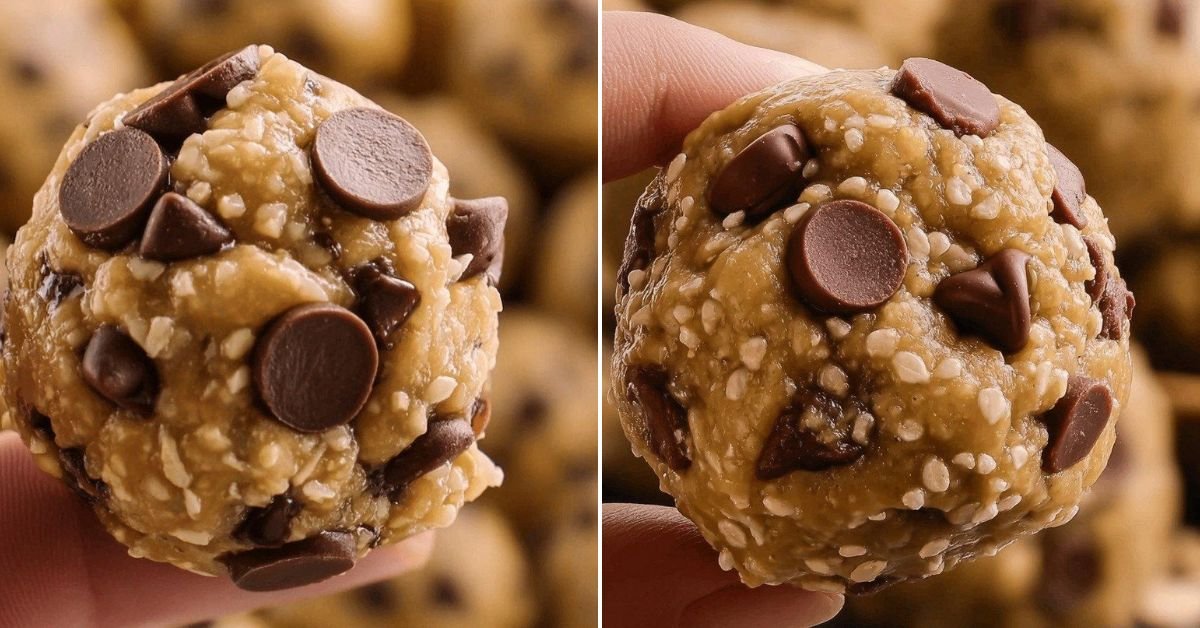
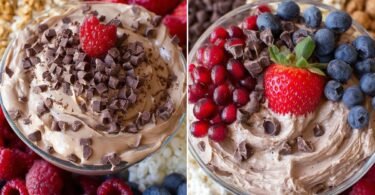
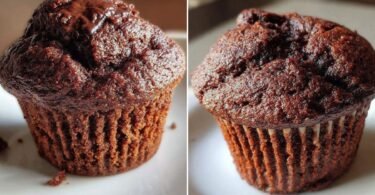
The texture hits that perfect sweet spot between chewy and slightly crunchy from the oats. The peanut butter adds richness without being too heavy. The chocolate chips make them feel like a treat instead of just another boring health food. I’ve served these at parties, packed them in lunchboxes, and stashed them in my gym bag. Every single time, people ask for the recipe. Now you’ve got it too.
3) Ingredients for No Bake Protein Balls
Rolled Oats
These form the base and give you that satisfying chew. I always use old-fashioned rolled oats because they hold their shape better than quick oats. If you’re gluten-free, just grab certified gluten-free oats and you’re good. The oats soak up the wet ingredients and create structure without being too dense. Don’t skip them or try to substitute with flour. Trust me, I tried once and it was a disaster.
Natural Peanut Butter
This is where most of your protein and healthy fats come from. I prefer natural peanut butter because it doesn’t have added sugar or weird oils. You can swap in almond butter, cashew butter, or even sunflower seed butter if you have nut allergies. Just make sure whatever you use is creamy and smooth, not the chunky kind. The smooth texture helps everything bind together properly.
Protein Powder
Your protein powerhouse. I bounce between vanilla and chocolate depending on my mood. Whey protein works great if you eat dairy. Plant-based protein powders work just as well if you’re vegan. The key is picking one you actually like the taste of because you’ll definitely taste it in the final product. I’ve used cheap protein powder before and regretted it. Spend a little extra for quality here.
Honey
Natural sweetness that also acts as a binder. It makes everything stick together and adds moisture. If you’re vegan, swap in maple syrup or agave nectar. Some people use dates instead, but I find honey easier to work with and it doesn’t clump. You can adjust the amount if you want them sweeter or less sweet. Start with the recipe amount and tweak from there.
Chia Seeds
These tiny seeds pack a serious nutritional punch. They add omega-3s, fiber, and help absorb excess moisture. I started adding them after reading about their benefits and now I can’t imagine making these without them. They’re completely optional if you don’t have them on hand, but they do add a nice subtle crunch and boost the nutrition profile even more.
Ground Flaxseed
Another nutritional superhero. Ground flax adds omega-3s, helps with binding, and contributes to that slightly nutty flavor. Make sure you use ground flaxseed, not whole. Whole flaxseeds will just pass through your system without breaking down. I buy it pre-ground and keep it in my freezer to maintain freshness. It’s one of those ingredients that quietly makes everything better.
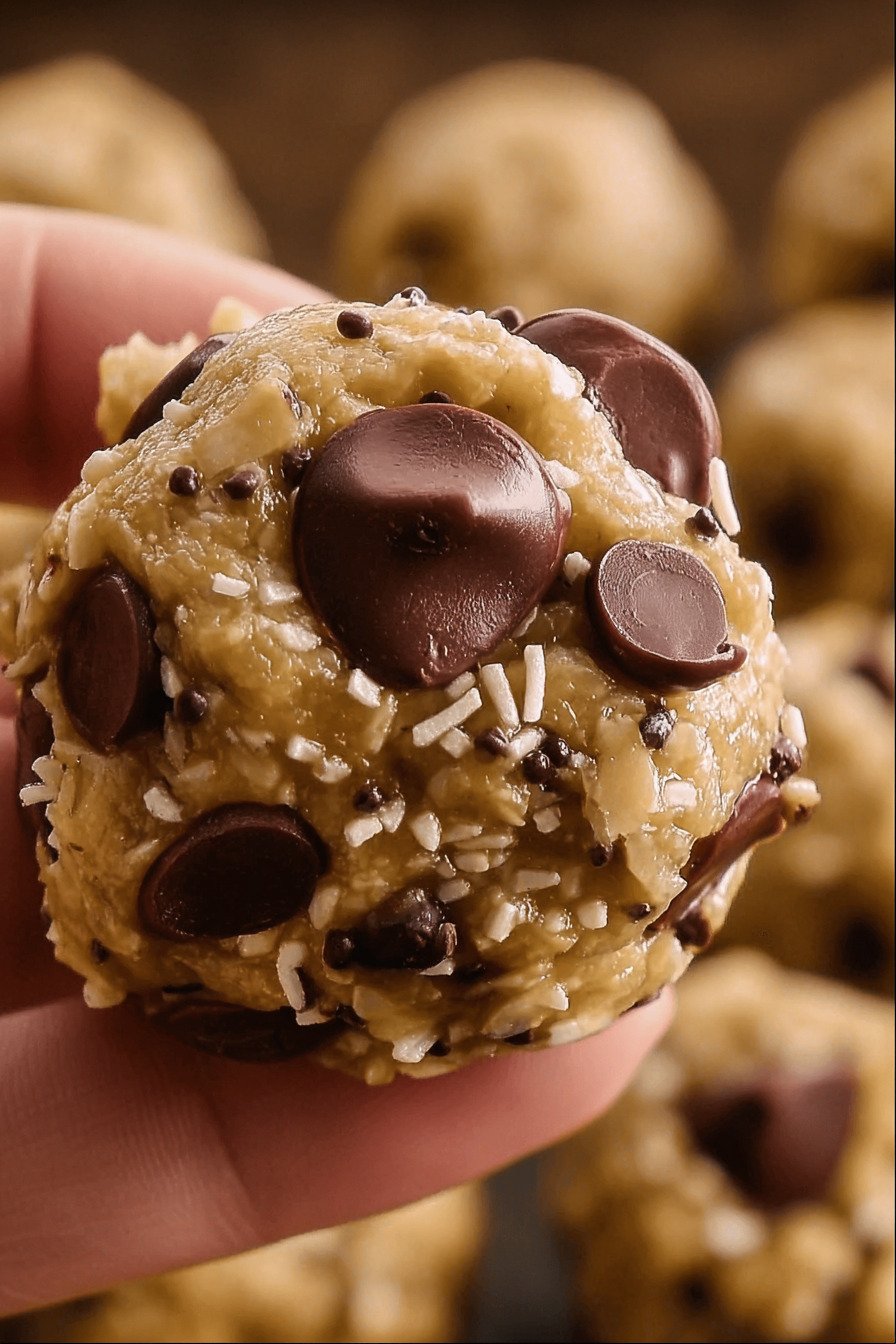
Mini Chocolate Chips
The fun part. These make the protein balls feel like an actual treat instead of medicine. I use mini chips because they distribute more evenly throughout each ball. You can use dark chocolate, cacao nibs, or even chopped chocolate bars. Or skip them completely if you want to keep things super clean. But honestly, life’s too short to skip chocolate.
Vanilla Extract and Salt
The secret weapons that most people forget. A tiny bit of vanilla brightens all the flavors and makes everything taste more cohesive. The pinch of salt balances the sweetness and brings out the nuttiness of the peanut butter. Don’t skip the salt. I promise it makes a huge difference even though it seems insignificant.
4) How to Make No Bake Protein Balls
Step 1
Grab your largest mixing bowl and dump in the rolled oats, protein powder, chia seeds, ground flaxseed, and that pinch of salt. Give everything a good stir with a spoon until all the dry ingredients are evenly mixed. This takes maybe 30 seconds. You want to see a uniform mixture with no clumps of protein powder hiding at the bottom. This step is way easier than baking because there’s no sifting or precise measurements to stress over.
Step 2
Add the peanut butter, honey, and vanilla extract right on top of your dry mixture. Here’s where things get fun. Start mixing with a sturdy spoon or spatula. At first it’ll look like a crumbly mess and you might panic thinking it won’t come together. Don’t worry. Keep folding and pressing the mixture. The heat from your hands or the friction from stirring will soften the peanut butter and honey. After a minute or two, it’ll start forming a cohesive dough. If you’re using your hands, make sure they’re clean. Hands work better than spoons for this step.
Step 3
Toss in those chocolate chips and fold them through gently. You don’t want to overmix at this point or the chips might break. Just work them in until they’re distributed throughout the dough. If the mixture feels super sticky, pop the whole bowl in the fridge for 10 minutes. If it feels too dry and crumbly, add a teaspoon of water or extra peanut butter and mix again. The perfect consistency should hold together when you squeeze it but not stick to your hands too much.
Step 4
Line a baking sheet or large plate with parchment paper. Scoop about 1 to 1.5 tablespoons of mixture and press it firmly in your palm. Roll it between your hands to form a smooth ball. Place it on the lined sheet and repeat until you’ve used all the mixture. I usually get about 20 balls from one batch. If your hands get sticky, wet them slightly with cold water. Some people like to portion them out with a cookie scoop first, which gives you more uniform sizes if that matters to you.
Step 5
Transfer the whole tray to your fridge and let the balls chill for at least 30 minutes. This firms them up and makes them easier to grab and eat later. If you’re super impatient like me, you can stick them in the freezer for 10 to 15 minutes instead. Once they’re firm, transfer them to an airtight container. They’ll keep in the fridge for up to two weeks or in the freezer for up to three months. I’ve never had a batch last that long though because they disappear way too fast.
5) Tips for Making No Bake Protein Balls
The biggest mistake I see people make is not pressing the mixture together firmly enough when rolling. You really need to squeeze each ball tightly in your palm before rolling it smooth. If you roll too gently, they’ll fall apart later. Press hard. Compact that mixture. Think of it like making a snowball that needs to survive a snowball fight. That same level of compression works perfectly here.
Temperature matters more than you’d think. If your kitchen is warm or your peanut butter is fresh from the pantry, the mixture will be softer and stickier. If your ingredients are cold from the fridge, it’ll be firmer and might even seem too dry. Room temperature ingredients work best. But if things get too sticky, just chill the dough. If things get too dry, add liquid a teaspoon at a time. You can always adjust as you go.
Don’t be afraid to customize these to your taste. Hate chocolate? Skip it. Want more sweetness? Add extra honey. Prefer almond butter? Go for it. Love coconut? Roll the finished balls in shredded coconut. I’ve made these probably 50 times and I’ve tweaked something almost every batch. That’s the beauty of no bake protein cookies. There’s no chemistry happening that requires precision. You can play around and find your perfect version.
Storage is key for maintaining the right texture. Keep them in a container with a tight lid. If they’re exposed to air, they’ll dry out and get hard. If they’re in a warm spot, they’ll get soft and might stick together. The fridge is your friend here. I like to separate layers with parchment paper if I’m stacking them, but that’s probably overkill. They usually don’t stick to each other much once they’re chilled properly.
6) Making No Bake Protein Balls Ahead of Time
These are basically made to be prepped ahead. I usually make a double batch every Sunday and have snacks sorted for the entire week. The best protein balls recipe should be one you can make in bulk without losing quality, and this one definitely fits that bill. The flavors actually get better after a day or two in the fridge as everything melds together. That first bite right after making them is good, but day three? Even better.
If you’re planning a week of high protein recipes for meal prep, make these first. They take up minimal space in your fridge and you can grab one or two anytime you need quick energy. I pack two in a small container for my morning commute. My kids take them in their lunchboxes. My husband throws a few in his gym bag. They’re portable, non-messy, and won’t leak or fall apart in a backpack like some snacks do.
Freezing them is where the real magic happens for long-term storage. I make a triple batch, eat some fresh, and freeze the rest in a gallon freezer bag. When I need them, I pull out a few and let them thaw for about 10 minutes on the counter. They’re perfect after that. Some people eat them straight from the freezer and say they taste like frozen fudge. I haven’t tried that yet but it sounds amazing.
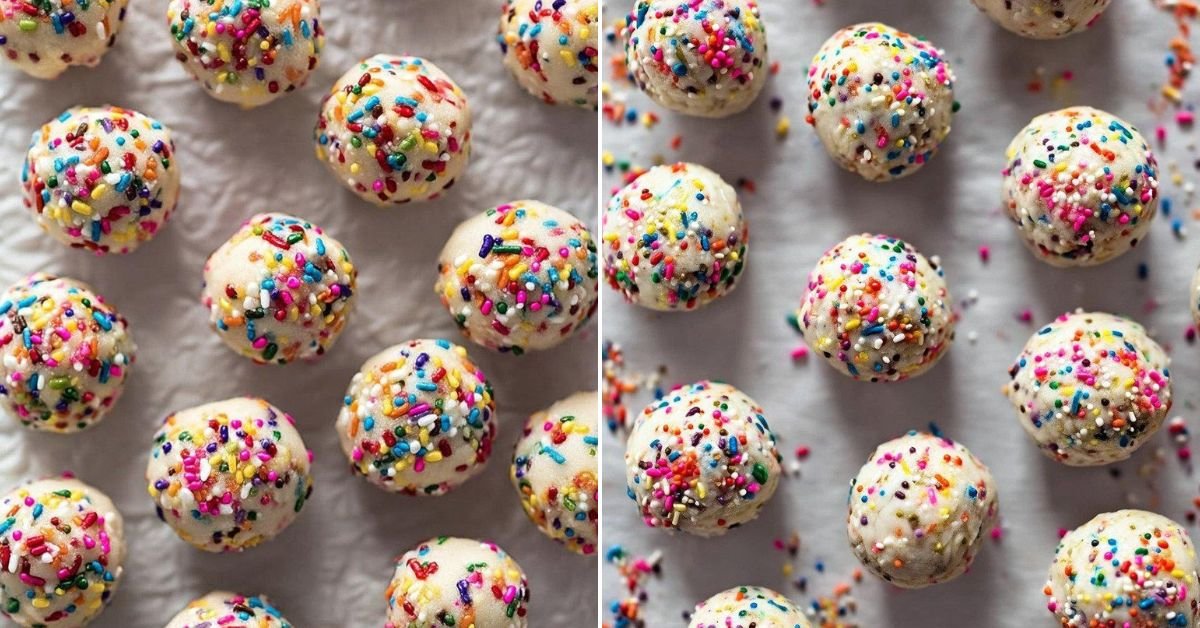
Want to get really organized? Make different flavors in one session. Do a batch of chocolate chip, a batch with dried cranberries, and a batch with cinnamon. Label them and store separately. Then you’ve got variety for days. It takes maybe an extra 20 minutes to make three batches versus one, and you won’t get bored eating the same flavor all week. This is what I do when I’m feeling ambitious on a lazy Sunday afternoon.
7) Storing Leftover No Bake Protein Balls
Fridge storage is straightforward. Grab an airtight container and stack your protein balls inside. They’ll stay fresh for up to two weeks. I’ve pushed it to three weeks before with no issues, but two weeks is the safe recommendation. The texture might firm up a bit more after several days, but they’ll still taste great. Just let them sit at room temperature for a few minutes if they feel too cold and firm straight from the fridge.
For freezer storage, I use either a freezer-safe container or a heavy-duty freezer bag. Squeeze out as much air as possible before sealing. Label it with the date so you remember when you made them. They’ll keep for up to three months frozen. When you’re ready to eat them, pull out however many you want and let them thaw for 10 to 15 minutes. They’ll soften up perfectly and taste just as good as fresh ones.
Room temperature storage is possible but only for a few days and only if your kitchen isn’t too warm. If it’s summer or you keep your house above 72 degrees, skip room temp storage and go straight to the fridge. The peanut butter and honey can get too soft and your protein balls might lose their shape. I learned this the hard way when I left a container on the counter during a heat wave. They turned into protein puddles. Not cute.
If you notice any off smells or weird textures, toss them. But honestly, I’ve never had a batch go bad before we ate them all. These disappear way too fast in my house for spoilage to ever be an issue. The bigger challenge is hiding them from family members who will inhale the entire batch in two days if you let them. I started keeping a secret stash in the back of the freezer behind the frozen vegetables where no one ever looks.
8) Try these snacks next!
9) No Bake Protein Balls
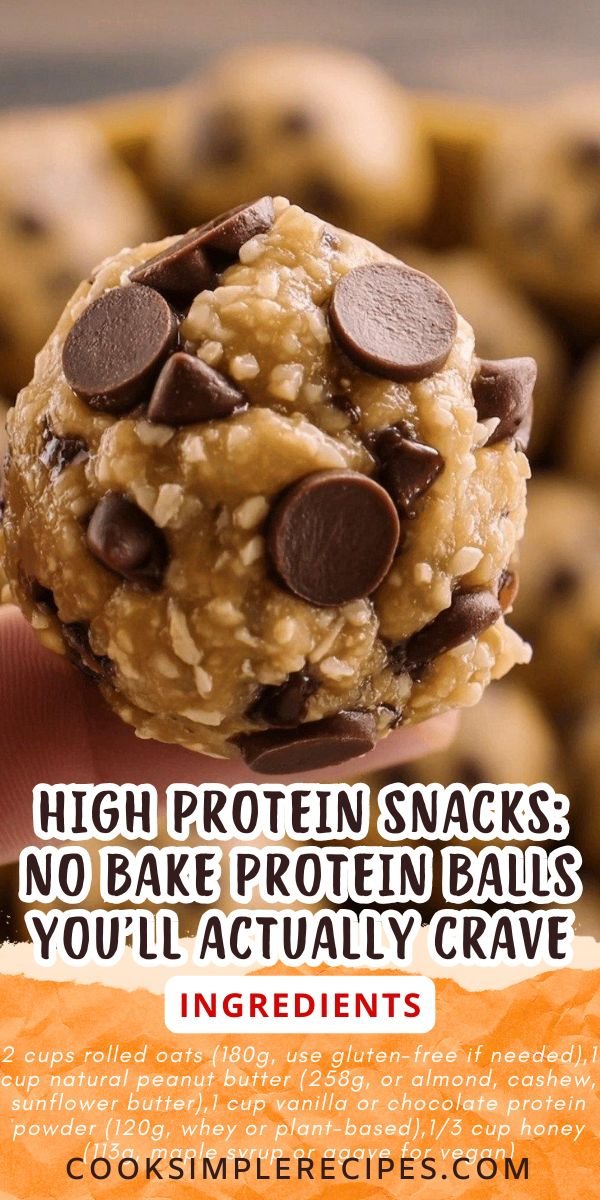
High Protein Snacks: No Bake Protein Balls You’ll Actually Crave
Ingredients
- 2 cups rolled oats (180g, use gluten-free if needed)
- 1 cup natural peanut butter (258g, or almond, cashew, sunflower butter)
- 1 cup vanilla or chocolate protein powder (120g, whey or plant-based)
- 1/3 cup honey (113g, maple syrup or agave for vegan)
- 2 tablespoons chia seeds (24g, optional for extra fiber)
- 2 tablespoons ground flaxseed (14g, adds omega-3s)
- 1/2 cup mini chocolate chips (85g, or cacao nibs, chopped dark chocolate)
- 1 teaspoon vanilla extract (5g, optional)
- 1/8 teaspoon salt (pinch, enhances flavor)
Instructions
- Grab a large mixing bowl and toss in the rolled oats, protein powder, chia seeds, ground flaxseed, and salt. Stir everything together until it’s evenly mixed.
- Add the peanut butter, honey, and vanilla extract to the bowl. Use a sturdy spoon or just dive in with your hands (clean ones, of course) and mix. It’ll look crumbly at first, but keep folding and pressing until it comes together into a sticky dough.
- Fold in the chocolate chips gently so they’re spread throughout without melting or clumping up.
- Scoop about 1 to 1.5 tablespoons of the mixture, press it together firmly, and roll it into a ball. Place each ball on a parchment-lined baking sheet or plate. If the mix feels too sticky, pop it in the fridge for 10 to 15 minutes. If it’s too dry, add a teaspoon of water or extra nut butter.
- Chill the balls in the fridge for at least 30 minutes to firm them up. You can also freeze them for 10 to 15 minutes if you’re impatient like me.
- Store the protein balls in an airtight container in the fridge for up to 2 weeks, or freeze them for up to 3 months. Let frozen ones thaw for 10 minutes before eating.
10) Nutrition
Serving Size: 1 ball | Calories: 182 | Sugar: 6.5 g | Sodium: 45 mg | Fat: 9.1 g | Saturated Fat: 2.1 g | Carbohydrates: 17.1 g | Fiber: 2.5 g | Protein: 10.1 g | Cholesterol: 0 mg


Leave a Comment