
I learned this fried rice recipe after a week when my fridge offered me cold rice and not much else. I grabbed a pan, melted butter, and listened for that soft sizzle that says dinner is about to behave. The garlic hit the heat and I thought wow I should do this more often. You and I both want a recipe for fried rice that works on a busy night and still tastes like a small win. This version keeps the rice fluffy and the veggies bright, with soy for depth and a little sesame for a warm finish. It is the best fried rice recipe ever in my book, since it uses day old rice and a gentle hand so nothing turns sticky. I like options. Some nights I lean into a garlic fried rice recipe and double the cloves. Other nights I make a simple fried rice recipe with peas and eggs and call it good. Feeling playful I toss in corn and a pinch of chili and it becomes a nod to a mexican fried rice recipe. Warm pan, patient stirring, and you get one of those fried rice recipes that feels like comfort without the takeout box.
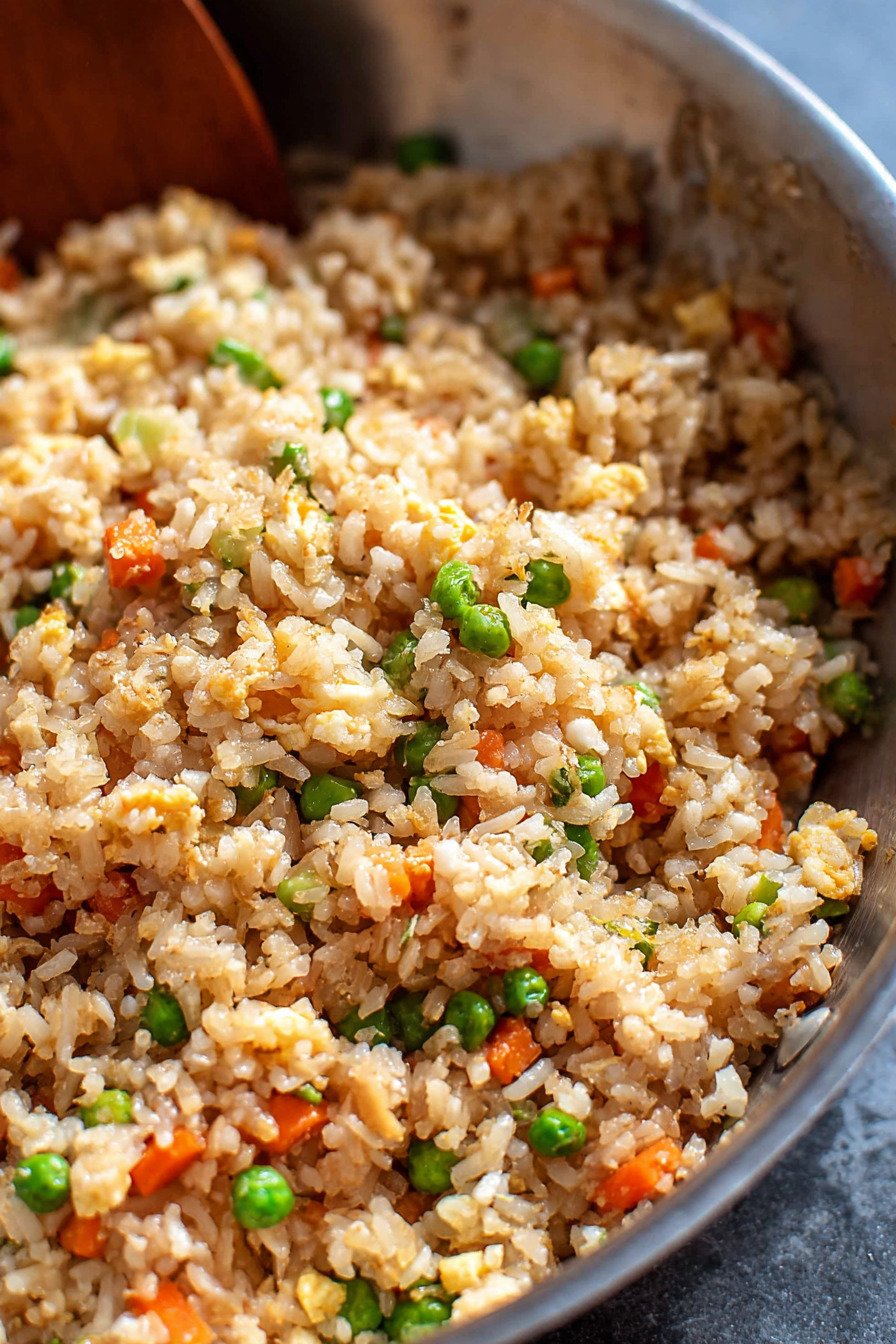
Table of Contents
- 1) Key Takeaways
- 2) Easy Hibachi Style Fried Rice Recipe
- 3) Ingredients for Hibachi Style Fried Rice
- 4) How to Make Hibachi Style Fried Rice
- 5) Tips for Making Hibachi Style Fried Rice
- 6) Making Hibachi Style Fried Rice Ahead of Time
- 7) Storing Leftover Hibachi Style Fried Rice
- 8) Try these Main Course next
- 9) Hibachi Style Fried Rice
- 10) Nutrition
1) Key Takeaways
I say this fried rice recipe saves weeknights and sanity. I reach for cold rice, a hot pan, and simple pantry magic. We get fluffy grains, a gentle sear, and that cozy soy aroma that drifts through the kitchen. I wrote this with you in mind and with my own trial and error. Two mentions in one breath here since fried rice recipe is the phrase folks search and the fried rice recipe I share here stays friendly, fast, and flexible.
We work with day old rice for structure. We use butter and oil for flavor and heat control. We cook eggs first, then move them to the side like the hibachi pros. The result tastes like takeout met Tuesday and decided to stay in. I keep the steps short and the ingredients clear so the copy reads clean and your dinner cooks clean.
We keep the tone calm and the moves steady. I test on a cast iron skillet and a nonstick pan and both deliver. If you want a garlic fried rice recipe, we double the cloves and smile. If you want a simple fried rice recipe, we keep peas and carrots and call it good. I publish this as Lisa on Cook Simple Recipes at https://www.cooksimplerecipes.com so you always know where to find me.

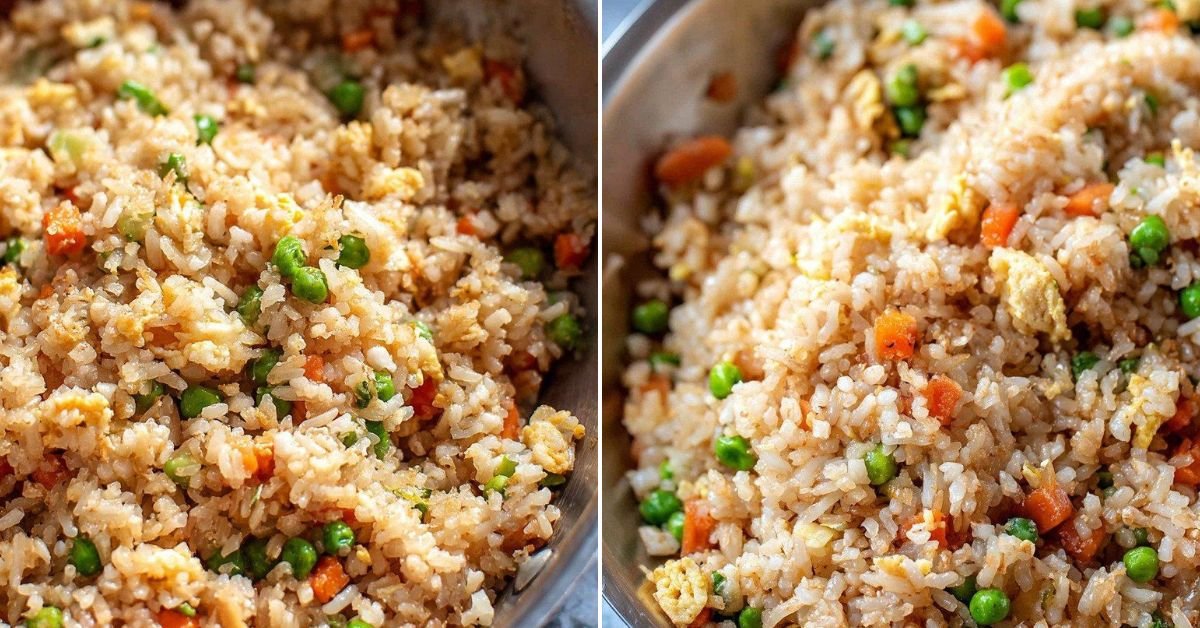
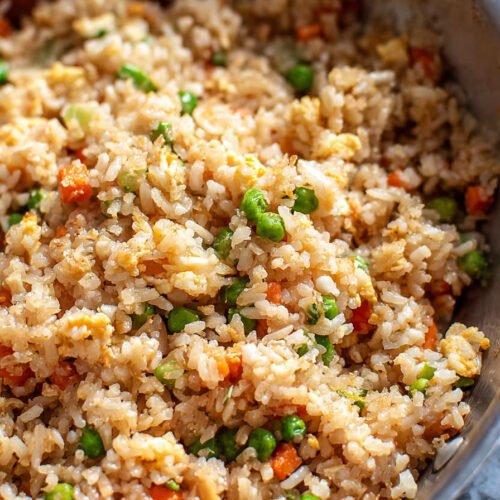
2) Easy Hibachi Style Fried Rice Recipe
I love an easy path to dinner that still tastes like care. This plate lands on the table in under thirty minutes and feels balanced. The rice to egg ratio stays generous. The veggies bring color and pop. The soy sauce adds depth without shouting. I keep it grounded so each bite makes sense. I say fast and I mean it, but not rushed. I stack the steps so you never juggle too much at once.
We start with cold rice that breaks apart with a spoon. We heat the pan until a grain sizzles on contact. We build flavor in layers. Butter melts. Onion softens. Garlic blooms. Peas and carrots warm and dry so steam does not crowd the pan. Then the rice goes in and takes a moment to toast. That pause gives the faint crust you crave in a best fried rice recipe ever without any fuss.
We finish with a whisper of sesame oil and sliced scallions. If you like a playful twist, a pinch of chili and a handful of corn drift the bowl toward a mexican fried rice recipe that still respects the base. For readers who collect fried rice recipes, tuck this one into your regular loop. It is friendly to shrimp, chicken, or tofu, and it forgives small swaps like rice vinegar for mirin.
3) Ingredients for Hibachi Style Fried Rice
Cooked day old white rice I chill four cups of cooked rice so the grains stay separate and fry clean. Cold rice resists mush and invites that light toast on the edges that makes the bowl sing.
Unsalted butter I use two tablespoons for flavor and gentle browning. Butter brings a round taste that feels like the hibachi counter we all love, and it helps the rice stay glossy.
Neutral oil I add two tablespoons to boost the smoke tolerance. Oil lets the pan hold heat so the rice can sizzle without breaking down or sticking.
Eggs I beat three with a pinch of salt and cook them first so they stay tender. The soft scramble folds in later and gives rich bites through the bowl.
Yellow onion I finely chop a small one. It softens fast and melts into the rice to give sweetness and a tiny bit of bite that plays well with soy.
Garlic I mince three cloves for aroma. If you want that garlic fried rice recipe vibe, double it and breathe deep. The kitchen will smell like comfort.
Peas and carrots I thaw and pat one cup dry so they fry instead of steam. They add color, texture, and an easy sweetness that kids and grown ups both like.
Low sodium soy sauce I start with three tablespoons and taste. It seasons the rice and brings that savory backbone we expect from a strong fried rice base.
Oyster sauce I add a tablespoon when I want extra depth. It is optional and subtle but it rounds the flavor in a way that feels like a restaurant bowl.
Toasted sesame oil I finish with a teaspoon off heat. The nutty aroma rises as the steam lifts and the whole kitchen nods yes this smells right.
Rice vinegar or mirin I use a teaspoon for brightness. That small lift wakes up the soy and keeps each forkful lively without turning sharp.
White pepper I grind to taste. It brings a warm hum that sits low and lingers without taking center stage.
Scallions I slice thin for color and crunch. Most go in at the end and a little stays for garnish so the bowl looks fresh and crisp.
Cooked protein I fold in shrimp, chicken, steak, or tofu when I want extra heft. Bite size pieces warm fast and make the meal feel complete.
Lemon wedges I serve them on the side. A light squeeze brightens the finish and balances the savory notes with a clean edge.
4) How to Make Hibachi Style Fried Rice
Break the rice Use a spoon to loosen the chilled rice so the grains separate. This quick step helps even frying and keeps the texture light.
Scramble the eggs Heat the pan over medium high with a little butter and oil. Pour in the eggs and stir until just set, then slide them to a plate so they stay soft.
Build the base Add the rest of the butter and oil. Cook the onion until it turns tender and sweet. Stir in the garlic for thirty seconds so it blooms without burning.
Dry the vegetables Toss in peas and carrots. Let the moisture cook off so the pan stays hot. This keeps the rice from steaming and preserves the crisp edges.
Toast the rice Add the rice and spread it in an even layer. Let it sit for a minute. Stir and repeat once so you get light browning and a hint of crunch.
Season and fold Splash in soy and oyster sauce if using. Add rice vinegar and white pepper. Return the eggs and any protein. Toss until the rice looks glossy.
Finish and serve Take the pan off heat. Stir in sesame oil and most of the scallions. Taste and adjust. A squeeze of lemon brings the flavor into focus. Plate and garnish.
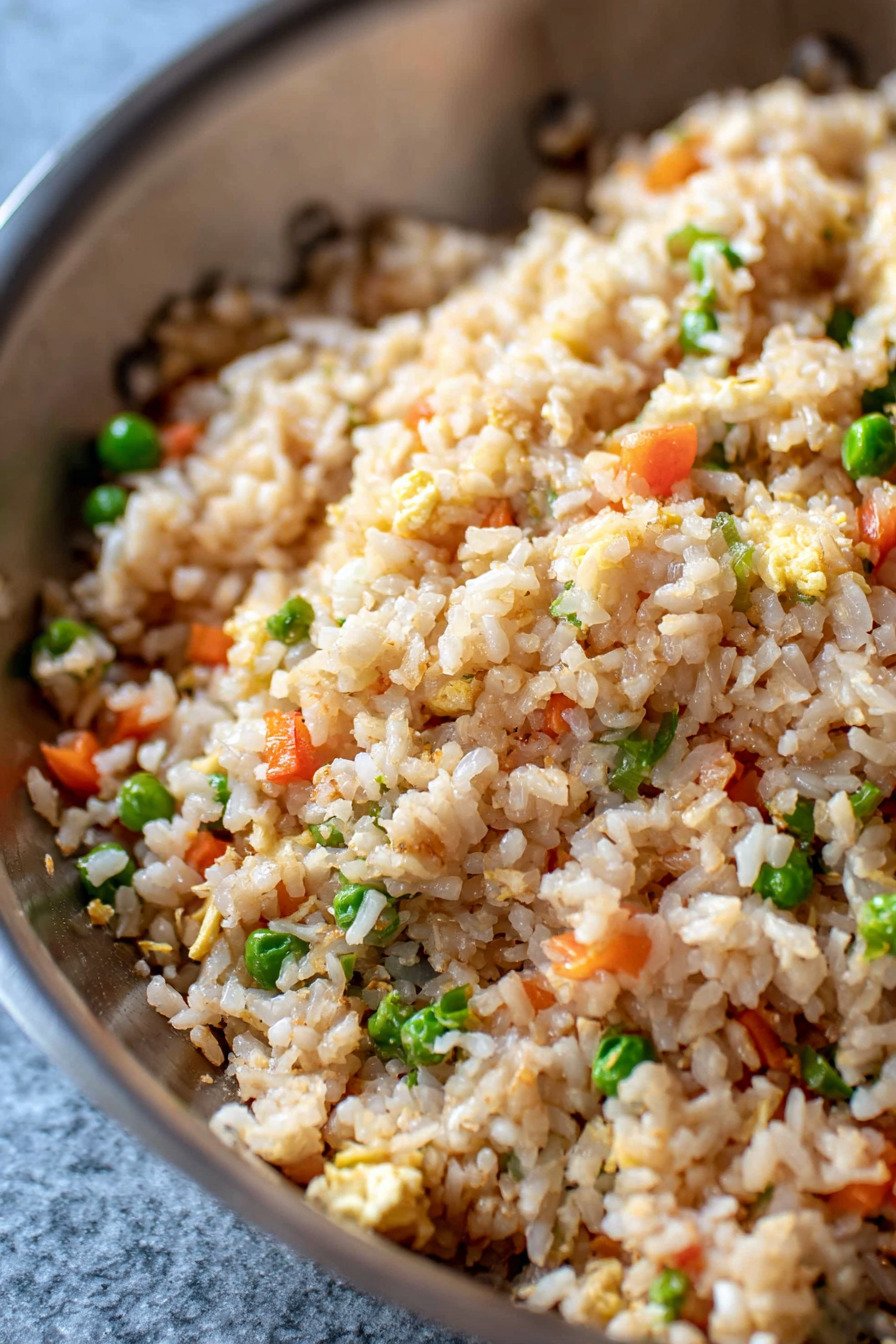
5) Tips for Making Hibachi Style Fried Rice
Use cold rice you cooked the day before. Short grain or medium grain both work if you rinse well before cooking. Cold rice fries instead of clumping and gives that slight snap when you bite. Keep the pan wide so the rice sits in contact with heat. Crowded pans steam and steam dulls flavor.
Crack the eggs into a small bowl and season before they hit the pan. Cook them first. This protects the soft texture and prevents overcooking later. For a simple fried rice recipe on a busy night, skip the oyster sauce and lean on soy and a touch of butter for richness that still tastes clean.
Want the best fried rice recipe ever vibe at home without a show table. Try a tiny pinch of sugar to balance salt, and wait for that one minute toast on the rice. If you collect fried rice recipes, make a note to dry thawed vegetables with a towel so excess water never sneaks into the skillet and steals your sizzle.
6) Making Hibachi Style Fried Rice Ahead of Time
I batch cook rice on Sunday and stash it cold. That single move lowers stress and raises flavor. I chop onions, mince garlic, and slice scallions and keep them in small containers. When dinner time comes, the prep moves feel light and the stove time feels short. This approach fits families and solo cooks alike and keeps the kitchen calm.
If you plan to cook fully ahead, follow the steps through seasoning but hold the sesame oil and scallions. Cool the rice fast on a sheet pan, then store it. Reheat in a hot pan with a splash of oil, finish with sesame oil, and add scallions. This preserves aroma and keeps the texture bright. It also makes this a repeatable fried rice recipe for lunch boxes.
For variation that leans toward a garlic fried rice recipe, infuse the oil with a few smashed cloves, then strain. For a playful swing toward a mexican fried rice recipe, fold in corn and a small pinch of chili powder during the reheat. The base stays the same and your week stays interesting.
7) Storing Leftover Hibachi Style Fried Rice
Let leftovers cool until warm to the touch, then pack in shallow containers. Cold air moves around thin layers and food chills faster. This protects texture and keeps flavors clear. I label with the date so I do not lose track in the fridge shuffle. We all play that game with containers and this keeps the guesswork low.
Reheat in a hot skillet for the best bite. A spoon of water helps steam any tight clumps, then a short fry brings back the edges. Add a small splash of soy and a thread of sesame oil at the end to refresh the bowl. Top with new scallions and you have that crisp fresh feel again.
If you freeze portions, spread the rice on a tray, freeze until firm, then move to bags. Flat bags thaw fast and stack neatly. Thaw in the fridge and reheat in a skillet. The grains stay close to their original texture and the flavor stays steady. This works for all your fried rice recipes and makes busy weeks less chaotic.
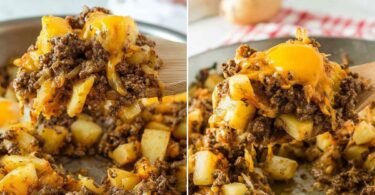
8) Try these Main Course next


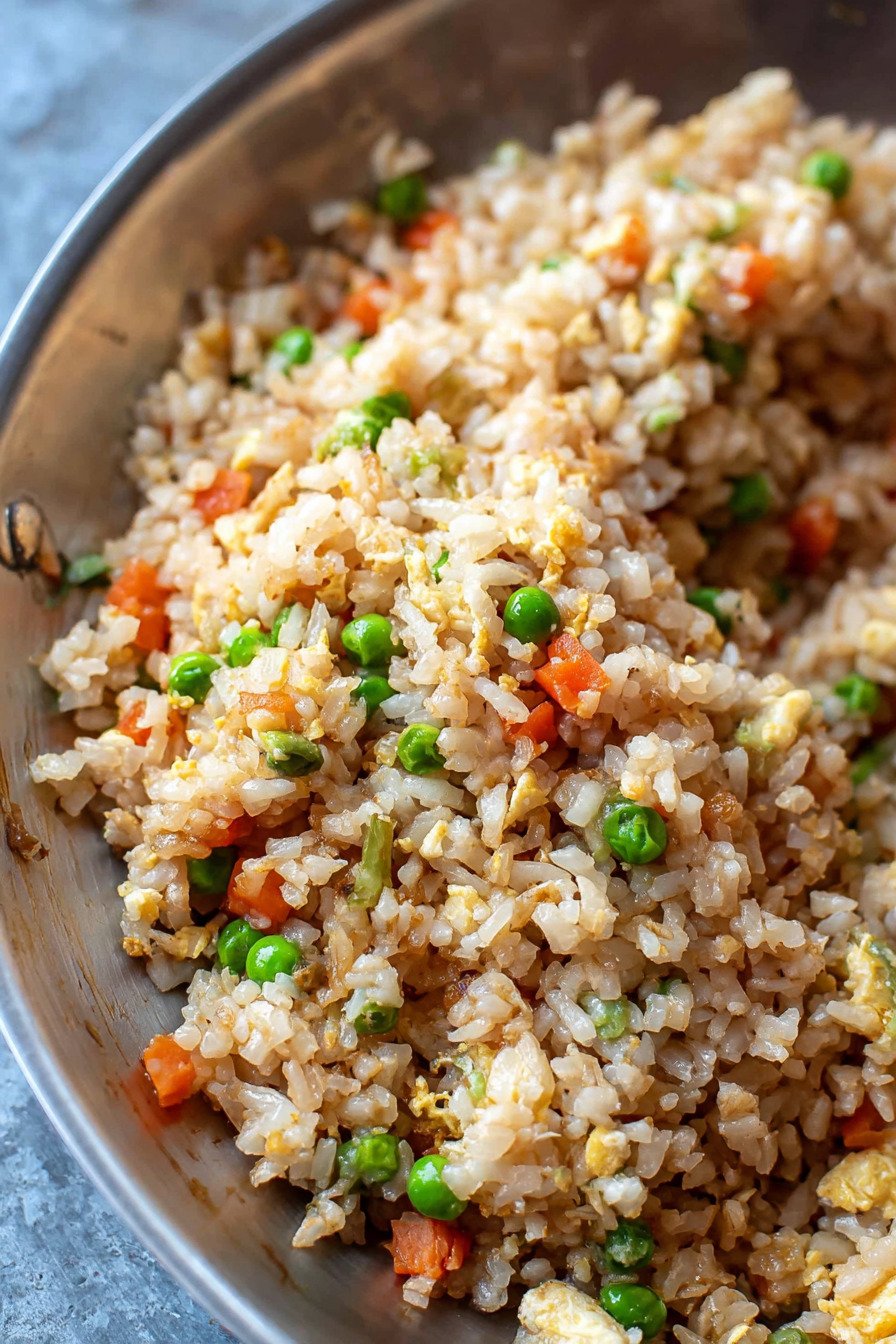
9) Hibachi Style Fried Rice
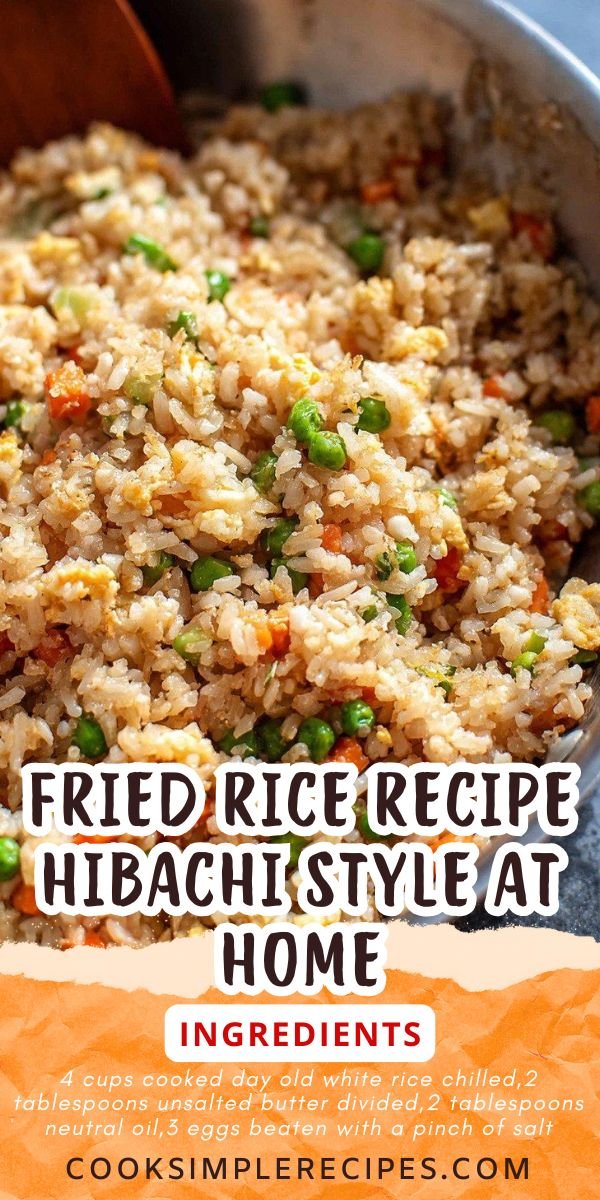
Fried Rice Recipe Cooked Hibachi Style At Home
Ingredients
- 4 cups cooked day old white rice chilled
- 2 tablespoons unsalted butter divided
- 2 tablespoons neutral oil
- 3 eggs beaten with a pinch of salt
- 1 small yellow onion finely chopped
- 3 cloves garlic minced
- 1 cup frozen peas and diced carrots thawed and patted dry
- 3 tablespoons low sodium soy sauce plus more to taste
- 1 tablespoon oyster sauce optional
- 1 teaspoon toasted sesame oil
- 1 teaspoon rice vinegar or mirin
- 1 2 teaspoons white pepper to taste
- 2 scallions thinly sliced
- Cooked protein such as shrimp chicken or steak optional
- Lemon wedges for serving optional
Instructions
- Break up cold rice with a spoon so the grains are loose.
- Heat a large skillet over medium high. Add one tablespoon butter and a teaspoon of oil. Pour in the eggs and scramble just set. Transfer to a plate.
- Add remaining oil and butter to the pan. Cook onion until soft. Stir in garlic for thirty seconds.
- Add peas and carrots. Toss until hot and dry on the surface.
- Add rice. Press in an even layer and let it sit for a minute so the edges toast. Stir and repeat once.
- Season with soy sauce oyster sauce if using rice vinegar and white pepper. Fold in scrambled eggs and any cooked protein.
- Finish with sesame oil and most of the scallions. Taste and add a splash of soy or a squeeze of lemon.
- Serve hot topped with the last bit of scallions.
10) Nutrition
I like numbers that help me plan, so here is a clear snapshot. A typical serving from this pan brings moderate calories and a steady mix of carbs, protein, and fat. The oil and butter add richness but they stay measured. The eggs lift the protein. The vegetables bring fiber and color. Soy sauce raises sodium, so I reach for low sodium and taste before I pour more.
For a bowl built with four cups of cooked rice, three eggs, and a light hand with oil, a serving lands near three hundred sixty five calories with sodium near seven hundred twenty milligrams. Fat stays near twelve grams with four grams saturated. Carbs sit near fifty three grams with fiber at two grams. Protein reaches around ten grams and cholesterol sits near ninety five milligrams. These numbers match the version I test in my kitchen and mirror the nutrition I post on Cook Simple Recipes at https://www.cooksimplerecipes.com.
If you add shrimp or chicken, protein climbs and calories shift a touch. If you use brown rice, fiber rises and the chew deepens. I like options and I bet you do too. Use these numbers as a guide and let your taste lead the small moves. Good food meets real life and that balance keeps cooking easy.


Leave a Comment