
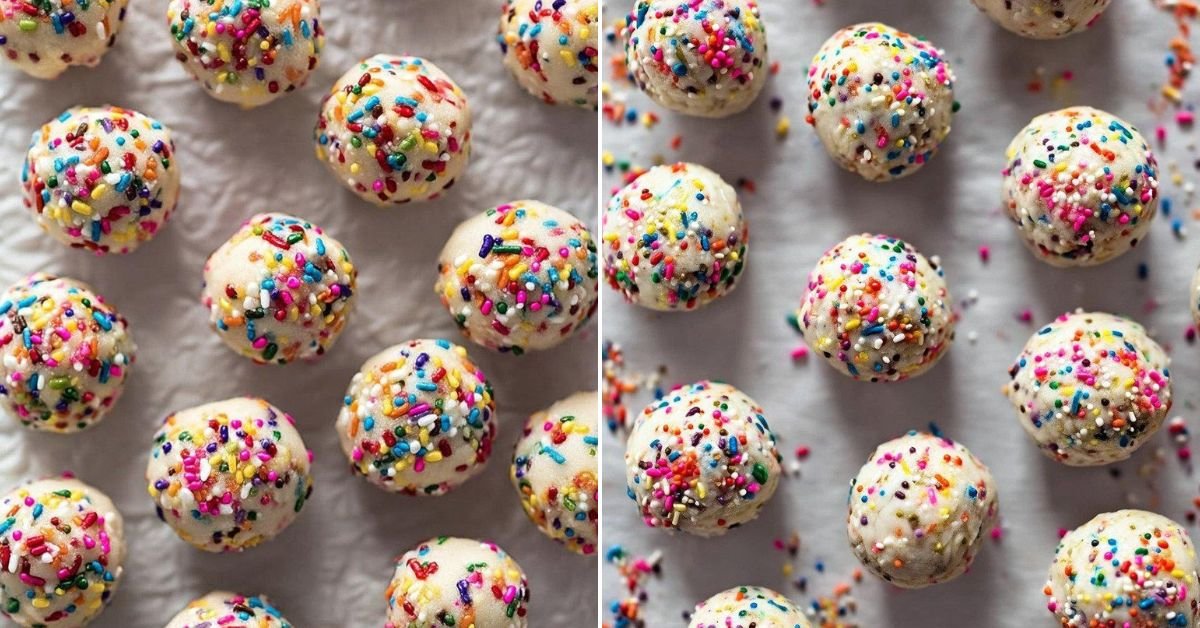
Listen, I’m not saying these Birthday Cake Batter Protein Balls will change your life, but they might just change your snack drawer. I made these last week when I was tired of the same old boring high protein snacks, and wow, they actually taste like real birthday cake. Not that weird fake cake flavor you sometimes get. We’re talking soft, chewy, covered in rainbow sprinkles, and packed with enough protein to keep you going. Honestly, these are what I wish the best protein balls recipe looked like when I first started making them. They’re basically a high protein cake you can pop in your mouth whenever you need a pick me up. My kids think they’re getting away with something (spoiler: they’re not), and I love that I can grab a couple before my workout without feeling guilty. If you’re into birthday cake recipes but want something that won’t wreck your macros, this is it. These high protein recipes are my go to now. The whole batch comes together in 15 minutes, no oven needed. Just mix, roll, chill, and you’ve got yourself a stash of treats that actually taste good and do something for you. Trust me on this one, this high protein recipe is a keeper.
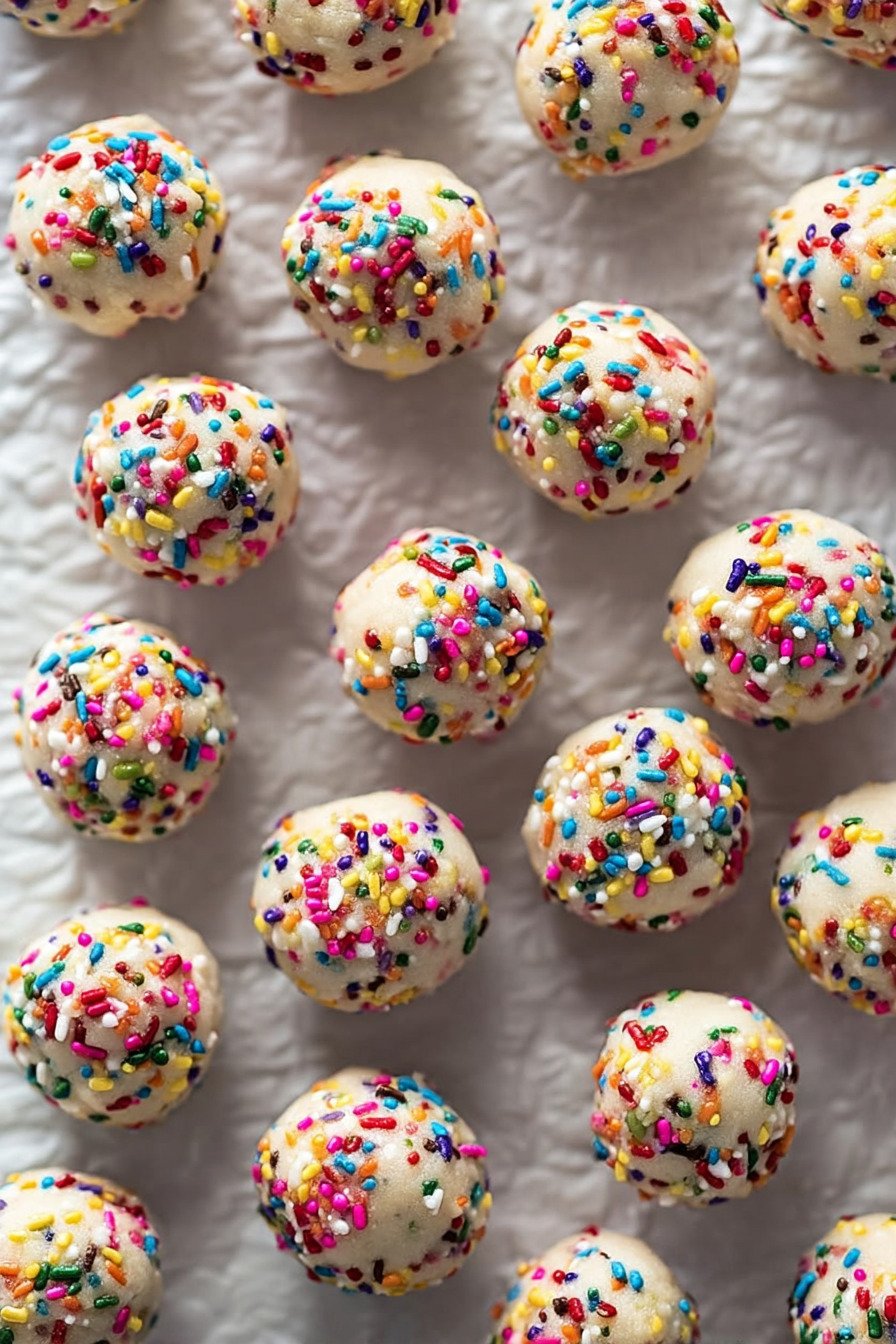
Table of Contents
- 1) Key Takeaways
- 2) Easy Birthday Cake Batter Protein Balls Recipe
- 3) Ingredients for Birthday Cake Batter Protein Balls
- 4) How to Make Birthday Cake Batter Protein Balls
- 5) Tips for Making Birthday Cake Batter Protein Balls
- 6) Making Birthday Cake Batter Protein Balls Ahead of Time
- 7) Storing Leftover Birthday Cake Batter Protein Balls
- 8) Try these Snacks next!
- 9) Birthday Cake Batter Protein Balls
- 10) Nutrition
1) Key Takeaways
- What makes these protein balls taste like birthday cake?
- Can I make these without protein powder?
- How long do birthday cake protein balls last in the fridge?
- Are these protein balls good for meal prep?
2) Easy Birthday Cake Batter Protein Balls Recipe
Listen, I’ve tried a lot of high protein snacks over the years. Most of them taste like cardboard mixed with sadness. But these birthday cake batter protein balls? They’re different. They actually taste good. Like, really good. The kind of good where you forget you’re eating something that’s supposed to be healthy.
I started making these when I got tired of spending money on fancy protein bars that left me hungry an hour later. I wanted high protein snacks that didn’t make me feel like I was punishing myself. So I grabbed some peanut butter, vanilla protein powder, and rainbow sprinkles (the most fun ingredient in any kitchen), and got to work. The result was these chewy, sweet, birthday cake flavored bites that my kids actually fight over.
What I love most about this best protein balls recipe is how quick it comes together. We’re talking 15 minutes from start to finish. No baking required. No complicated steps. Just mix, roll, chill, and you’re done. Perfect for when you need a snack that keeps you full without weighing you down.
These little guys pack about 7 grams of protein each. That’s more than an egg. And they taste like you’re eating cookie dough at a birthday party. I make a batch every Sunday and keep them in the fridge for grab and go breakfasts or post workout fuel. Trust me, once you try these, store bought protein snacks won’t cut it anymore.

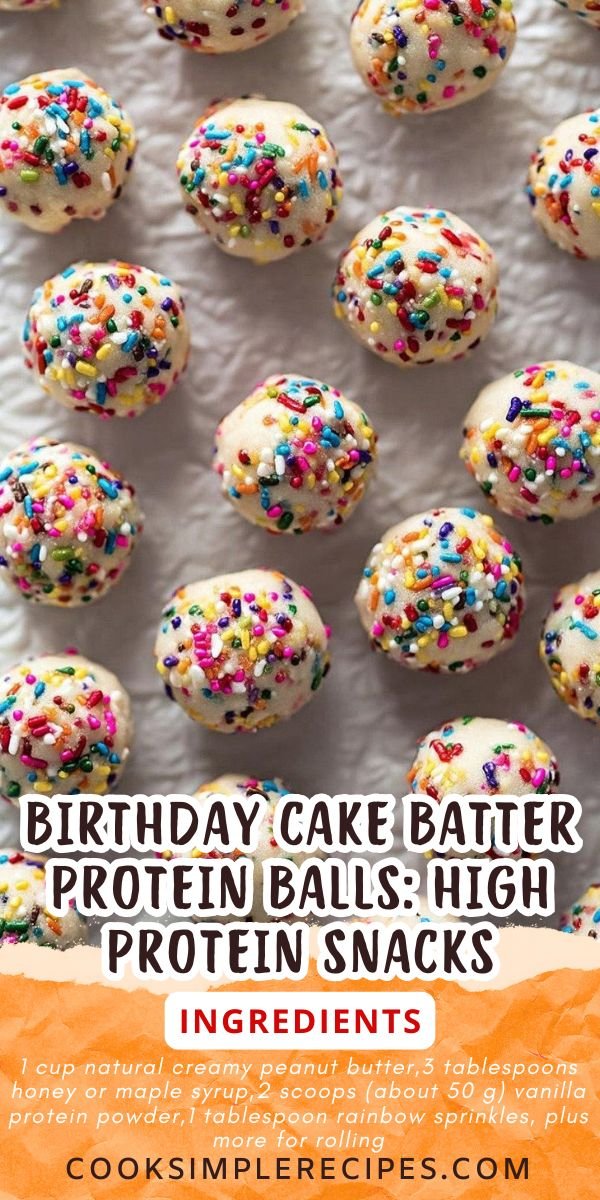
3) Ingredients for Birthday Cake Batter Protein Balls
Natural Creamy Peanut Butter is what holds everything together here. I use the kind that’s just peanuts and maybe a tiny bit of salt. None of that stuff with added sugar or hydrogenated oils. The natural oils in good peanut butter give these balls that perfect creamy texture. If you’ve only got the super thick natural kind that separated in your pantry, just stir it up real good before measuring.
Honey or Maple Syrup adds sweetness without going overboard. I usually go with honey when I’m making these for myself, but maple syrup works great if you’re keeping things vegan. Either way, you get that sticky sweetness that brings out the birthday cake flavor. Don’t skip this or your protein balls will taste like you forgot to add sugar (ask me how I know).
Vanilla Protein Powder is where the magic happens. This high protein recipe really depends on good quality powder. I’ve tested these with about ten different brands, and my favorites are the ones that actually taste like vanilla, not like someone described vanilla to a robot. Whey, plant based, whatever you prefer. Just make sure it’s vanilla flavored.
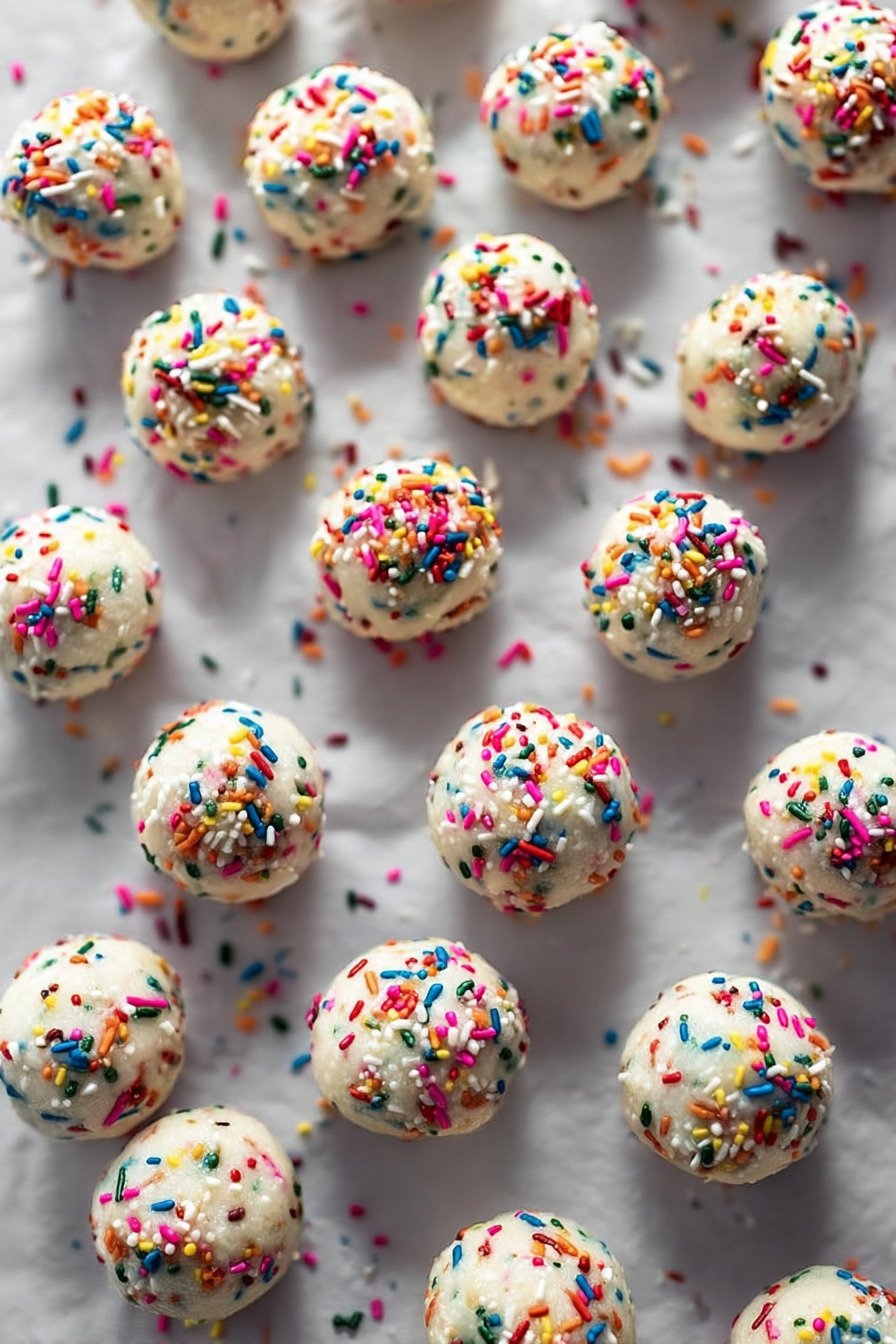
Rainbow Sprinkles make these feel special. Sure, you could skip them and make plain protein balls. But why would you want to? The sprinkles give you that birthday cake look and add little bursts of sweetness. Just fold them in gently at the end so they don’t turn your dough gray. I learned that one the hard way during my first attempt.
Optional Extras can take these from great to amazing. A pinch of salt brings out all the flavors. A splash of vanilla extract makes them taste more like actual cake batter. And if you really want that bakery flavor, add a single drop of almond extract. Just one drop. More than that and they’ll taste like you’re eating marzipan.
4) How to Make Birthday Cake Batter Protein Balls
Step 1 is getting your peanut butter and honey nice and soft. Scoop them into a microwave safe bowl and zap them for about 20 to 30 seconds. You’re not trying to cook anything, just warm it up enough that stirring doesn’t feel like an arm workout. Give it a good mix until everything looks smooth and flows like caramel. If it’s still too thick, pop it back in for another 10 seconds.
Step 2 means adding your protein powder. Dump it right into that warm peanut butter mixture and start stirring. This is where things get real. The mixture will start coming together into a dough. If it feels dry and won’t stick together, add a splash of milk or water (just a teaspoon at a time). Too wet and sticky? Toss in more protein powder. You want something that feels like play dough.
Step 3 is the fun part where you add the sprinkles. Here’s the trick that took me way too long to figure out. Don’t stir them in like you’re making cookie dough. Fold them in gently, like you’re tucking a baby into bed. If you mix too hard, the colors will bleed and you’ll end up with sad gray dough instead of pretty rainbow specks. Learned that lesson making these for my daughter’s class party.
Step 4 gets you rolling. Grab a tablespoon or one of those small cookie scoops if you’ve got one. Scoop out portions and roll them between your palms into smooth balls. They should be about the size of a ping pong ball. If you want them extra festive (and who doesn’t?), roll each ball in more sprinkles. Just pour some sprinkles on a plate and give each ball a little roll.
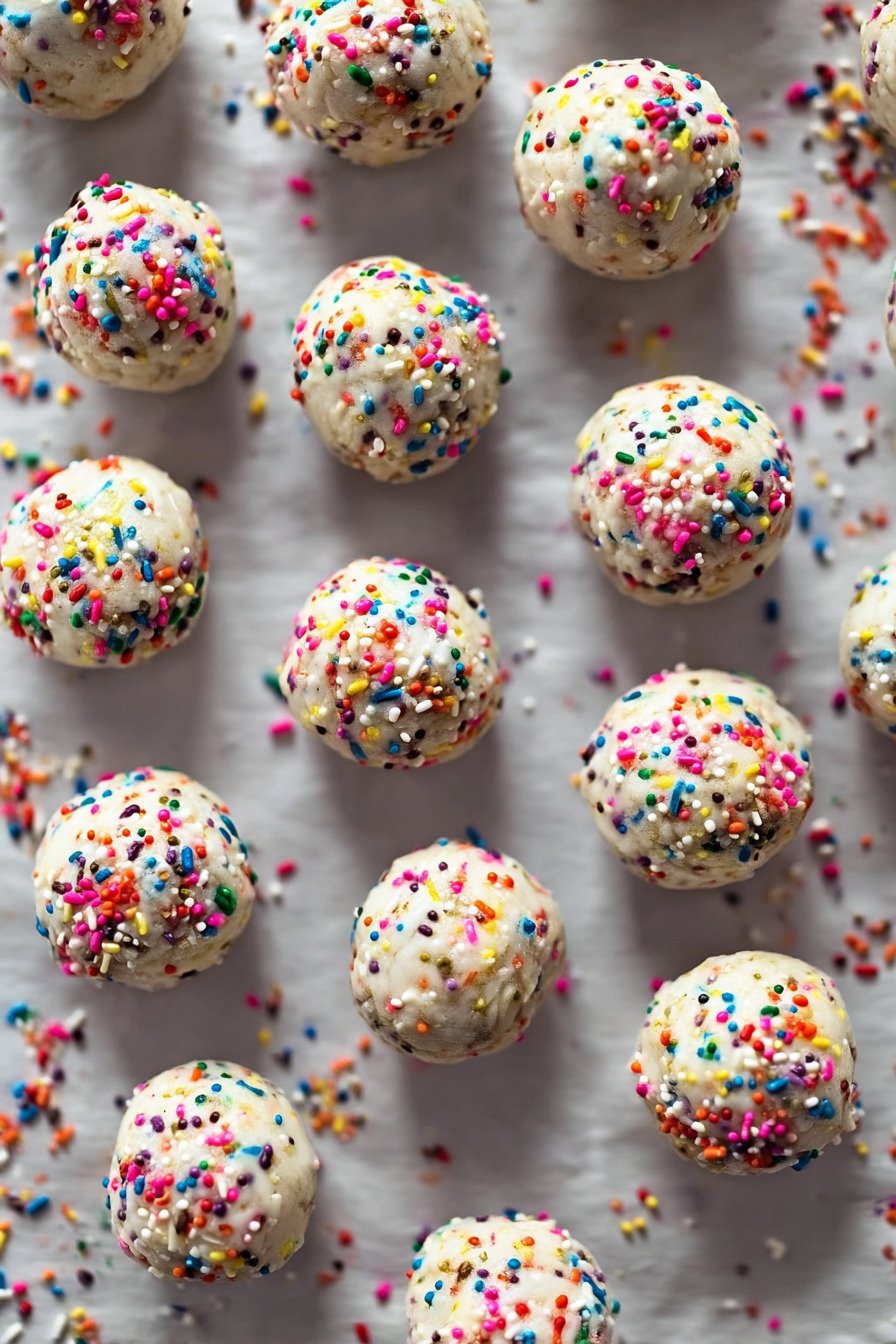
Step 5 is where patience comes in. Line a tray or plate with parchment paper and place your balls on it. Stick the whole thing in the fridge for at least 20 minutes. This helps them firm up so they’re not falling apart when you grab one later. I know it’s tempting to eat them right away, but trust me on this. The texture is way better after they’ve chilled.
5) Tips for Making Birthday Cake Batter Protein Balls
Getting the texture right can be tricky at first. I’ve made these enough times now that I can eyeball it, but when you’re starting out, pay attention to how the dough feels. It should stick together when you squeeze it but not be so sticky that it’s all over your hands. If you’re having trouble, the problem is usually too much or too little liquid. Add protein powder if it’s sticky, add milk if it’s crumbly. Small adjustments make a big difference.
The type of protein powder you use really matters for this best protein balls recipe. Some powders are super absorbent and will soak up all your liquid like a sponge. Others are more fine and delicate. I’ve had the best luck with whey protein isolate or a good quality pea protein. The cheap stuff from the discount store? Not so much. It tends to taste chalky and doesn’t mix as smoothly.
Temperature is your friend here. Working with warm peanut butter makes mixing so much easier. But if your kitchen is really hot, the dough might be too soft to roll. If that happens, just stick the bowl in the fridge for 10 minutes before rolling. On the flip side, if your peanut butter was cold from the fridge, you might need to warm it a bit longer. Room temperature or slightly warm is the sweet spot.
Don’t stress about making them perfect. My first batch looked like lumpy potatoes with sprinkles. They still tasted great. The more you make them, the better you’ll get at rolling smooth balls. And honestly? Even the ugly ones taste just as good. Sometimes I let my kids help roll them, and they come out looking wild. But we eat them just the same and everyone’s happy.
If you’re making these as a high protein cake alternative for a party, make them a day ahead. The flavors meld together overnight and they taste even better the next day. Just keep them covered in the fridge so they don’t pick up any weird smells. I learned that after storing mine next to leftover garlic pasta. Not my finest moment.
6) Making Birthday Cake Batter Protein Balls Ahead of Time
Meal prep is where these really shine. Every Sunday, I make a double batch. That gives me enough for the whole week, and then some. I portion them into little containers with about 3 or 4 balls each. Then I’ve got grab and go snacks ready whenever I need them. Heading to the gym? Grab a container. Afternoon slump at work? Protein balls to the rescue.
The great thing about making these ahead is how well they hold up. Unlike some snacks that get weird after a day or two, these stay soft and chewy for a full week in the fridge. The peanut butter keeps them moist, and the protein powder actually helps preserve them. I’ve never had a batch go bad on me, mostly because we eat them too fast. But I’ve kept them for 7 days with zero issues.
If you really want to plan ahead, these freeze beautifully. I’m talking months in the freezer with no loss of quality. Just pack them in a freezer safe container or bag with parchment paper between layers so they don’t stick together. When you want one, grab it from the freezer and let it sit for about 5 minutes. Or eat it frozen if you like that firmer texture. I actually prefer them semi frozen in the summer.
One trick I’ve learned is to roll them slightly smaller if I’m freezing them. They’re easier to eat when they’re bite sized frozen treats. And if you’re packing these for lunch boxes or snacks on the go, they’ll stay good at room temperature for a few hours. Perfect for road trips, hiking, or those days when you’re running around non stop and need something that travels well.
Planning a party? Make these a few days early and keep them chilled. They’ll actually taste better after sitting for a bit. The flavors have time to come together, and that birthday cake taste gets even stronger. I made these for my niece’s birthday last month and stored them for 3 days before the party. Everyone asked for the recipe, and nobody could tell they weren’t freshly made.
7) Storing Leftover Birthday Cake Batter Protein Balls
Storing these couldn’t be simpler. Just toss them in an airtight container and stick them in the fridge. That’s it. They’ll stay fresh for about a week, maybe longer if you can resist eating them that long. I use glass containers with snap on lids, but plastic works fine too. Just make sure the seal is tight so they don’t dry out or absorb fridge smells.
If you’re like me and make big batches of these high protein recipes, divide them up when you store them. I keep some in a small container for daily snacking and freeze the rest. That way I’m not opening and closing the same container a million times, which lets in air and moisture. Plus it helps with portion control. Not that I have problems with that. Okay, sometimes I do.
The freezer is your best friend for long term storage. These last up to 3 months frozen, which is perfect for making huge batches. I freeze mine on a tray first so they don’t stick together, then transfer them to a freezer bag once they’re solid. Label the bag with the date if you’re organized (I’m usually not). When you want one, just grab it and go. They thaw in about 10 minutes on the counter.
Room temperature storage is fine for short periods. If you’re packing these for work or school, they’ll be perfectly good sitting in your bag for a few hours. I wouldn’t leave them out all day in a hot car, but normal room temperature is fine. The peanut butter and honey are pretty stable, so you don’t have to stress about them going bad quickly.
One thing I’ve noticed is that the sprinkles can sometimes bleed a little bit of color if the balls sit for too long. It’s just cosmetic and doesn’t affect the taste at all. If you want them to look pristine for a party or photos, roll them in fresh sprinkles right before serving. Or just embrace the tie dye look. I think it adds character.
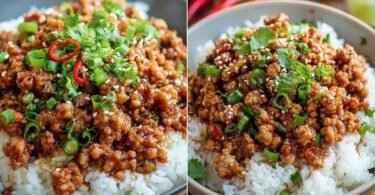
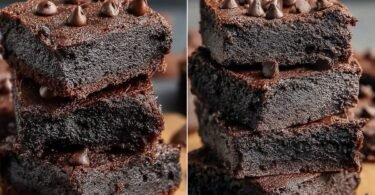
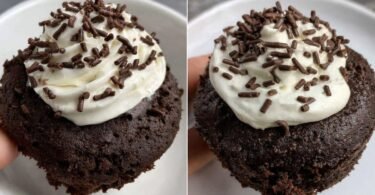
8) Try these Snacks next!
9) Birthday Cake Batter Protein Balls

Birthday Cake Batter Protein Balls: High Protein Snacks
Ingredients
- 1 cup natural creamy peanut butter
- 3 tablespoons honey or maple syrup
- 2 scoops (about 50 g) vanilla protein powder
- 1 tablespoon rainbow sprinkles, plus more for rolling
- Optional: pinch of salt
- Optional: splash of vanilla extract
- Optional: drop of almond extract for that true cake batter flavor
Instructions
- Grab a microwave safe bowl and toss in the peanut butter and honey. Zap it for about 20 to 30 seconds just to soften everything up, then give it a good stir until it’s all smooth and glossy.
- Dump in your vanilla protein powder and start mixing. You’re looking for a dough that holds together but isn’t dry. If it’s too crumbly, add a teaspoon of milk or water. Too sticky? Sprinkle in a bit more protein powder.
- Now comes the fun part. Gently fold in those rainbow sprinkles. Don’t go crazy here or the colors will bleed everywhere. Just a light touch does the trick.
- Use a tablespoon or a small cookie scoop to portion out the dough. Roll each piece between your palms into a smooth ball. If you want them extra festive, roll each one in more sprinkles.
- Line a tray with parchment paper and place your balls on it. Pop the whole thing in the fridge for about 20 minutes so they can firm up. Then they’re ready to eat.
10) Nutrition
Serving Size: 1 ball | Calories: 145 | Sugar: 5g | Sodium: 40mg | Fat: 10g | Saturated Fat: 2g | Carbohydrates: 8g | Fiber: 1g | Protein: 7g | Cholesterol: 0mg


Leave a Comment